STEP 1Downloading and Preparing the File
The installation will require for you to download the mail installation package for the application. It is distributed and available for downloads on the official community WordPress website.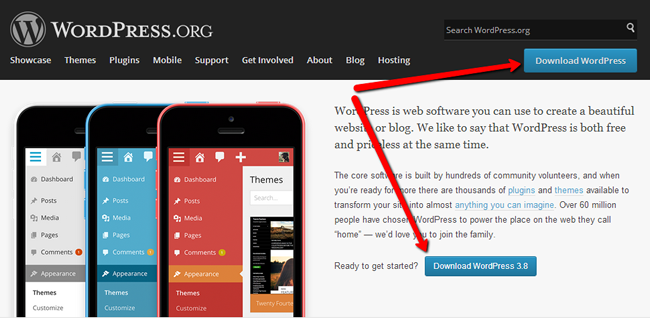
Once you press any of the “Download WordPress” buttons you will be redirected to the download page of the platform where by simply clicking on another “Download WordPress” button you will be able to download the installation archive.
As soon as you have downloaded the installation archive it is time for you to extract the archive and to check the contents of the installation files.
After the extraction process you will receive a folder named “wordpress”. If you access that folder you will be able to see all of the files required for the application to be properly installed.
What you need to do with these files is to upload them on your hosting account at the desired directory where your application should be accessible at. Of course if your application should be accessible directly on your primary domain you should simply put all of the files in the public_html directory.
The upload method you should use is a simply FTP service login. If you are not quite sure how you should use the FTP service for uploading the files please check our FTP tutorial series.
Once you access the FTP service for your account please navigate to the folder you would like the application installed and upload the files using your FTP client options.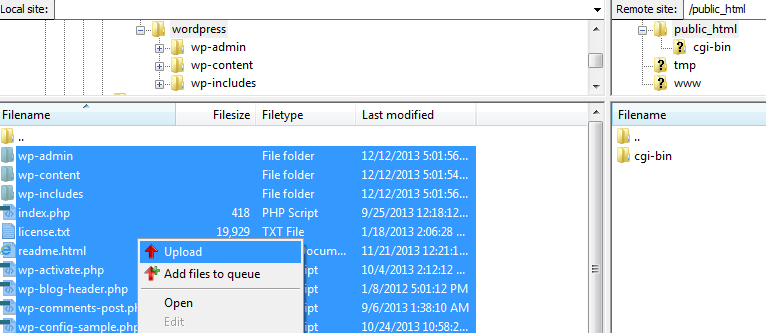
When all of the files are uploaded in the desired folder it is time for the installation process to begin. This can be easily achieved if you access the URL related to the folder in which the WordPress platform should be installed. In this particular case this is our public_html folder and in order to access the installation wizard we will need to access the primary domain for our account – example.com.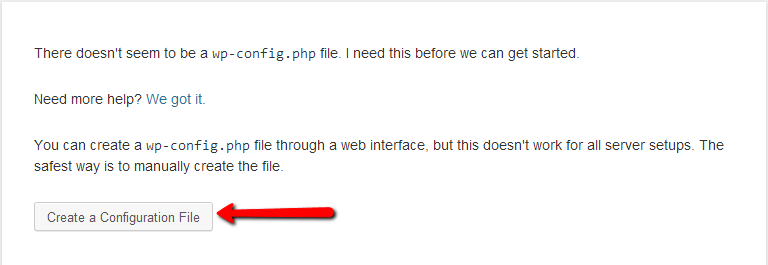
STEP 2Creating a Database
As soon as you access the installation wizard you will notice the message that there is no configuration file. It is ok and you have not done nothing wrong. This warning message is displayed where indeed there is no configuration file for the platform and it normal for the same to be displayed considering the fact that this is new installation.
Please click the “Create a Configuration File” button so you can proceed with the installation.
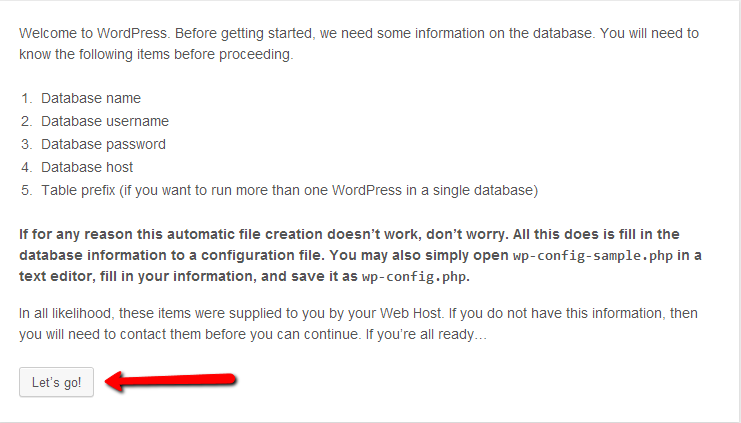
Next step is informing you what type of information you will need in order for the installation process to be finished. Since WordPress is php/MySQL driven application you will need of course a database. If you are not sure how to create a new database and to assign a user to operate with it please check our tutorial on how to create database via cPanel.
Once you have created a new database and you have assigned a user for the same please click the “Let’s go!” button in order for the installation process to continue.
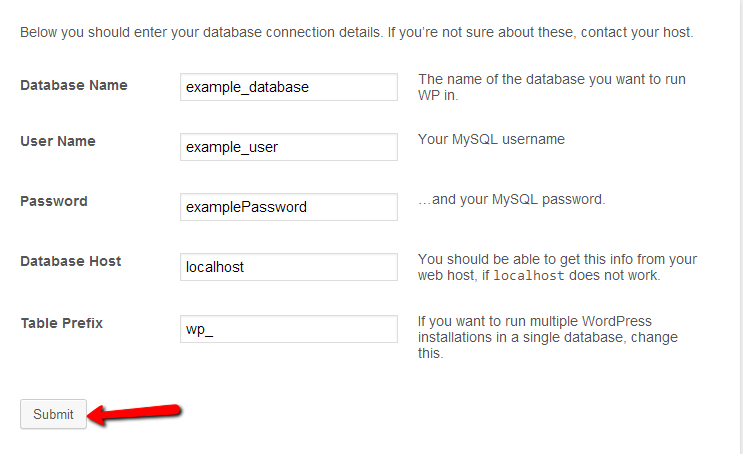
On the next page you will need to fill all of the database information you have in order for the platform to use a database.
- Database name - The name of your database.
- Database username – The username for the user you have granted with privileges to operate with the above inserted database.
- Password – The password you have configured for the users you have added to the database.
- Database host – The hostname of the database server. If the MySQL server is hosted on the same machine as your hosting account is please use “localhost”. All our customers should use the “localhsot” or 192.168.0.1 for the value of this field.
- Table prefix – The actual prefix for the tables in the database of the application. For security reasons it is highly recommended you change this prefix to whatever you might want to.
As soon as you fill all of the required information please press the “Submit” button so the installation process can continue with the next step.

As you can see the next step is to inform you that the information you have entered related to your database is correct and the installation process can continue. Please click the “Run the install” button.
On the next page you will need to fill the required fields in order for the installation process to be finalized.
STEP 3Creating an Administrators Account
- Site Tittle - The actual tittle you would like your web-site to have.
- Username – The admin username which you will be using for logging into the admin area of your WordPress platform.
- Password, twice – The password you will be using for logging into the admin account of yourWordPress platform. Note that you should enter the password twice for a verification purpose.
- Your E-mail – The email account your website will be using for contacting you in case of emergency or if some report should be sent to you.
- Privacy – If this option is selected the search engines which should index your website will be able to do so. Otherwise the installer will add some additional lines in the robots.txt file of your account which will disable the indexing of your website by the search engines.
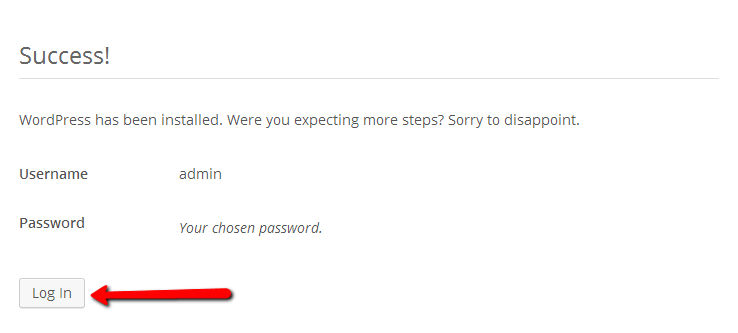
The next screen will inform you that the installation process was properly finished and that you should now login into the admin area of your web-site by pressing the “Log In” button.
With the successful login you will be redirected to the admin area of your website and with this the installation of your WordPress platform is finished.
