STEP 1Creating a new Menu
The WordPress “Menus” page is located inside the admin area of the platform so you will need to successfully login and navigate to Appearance>Menus.
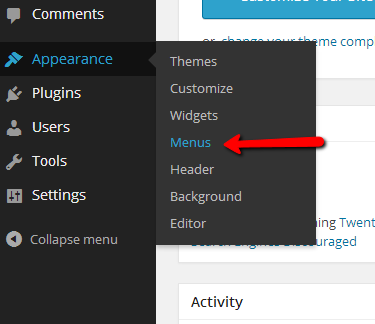
Once you are landed on the “Menus” page you will notice that you are presented with the option to “create a new menu” at the bottom of the page.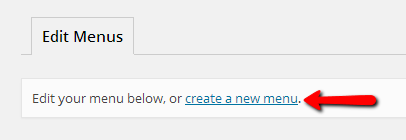
If you click on this link you will be prompted to enter a name for your menu. In the text box put the name of your menu and when you are ready click the Create Menu button in order for your menu to be created.
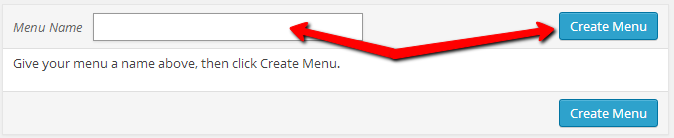
You will then be presented with the menu editing interface for your newly created menu.
STEP 2Configuring your new Men
The interface is fairly simple and it contains two sections for you to configure.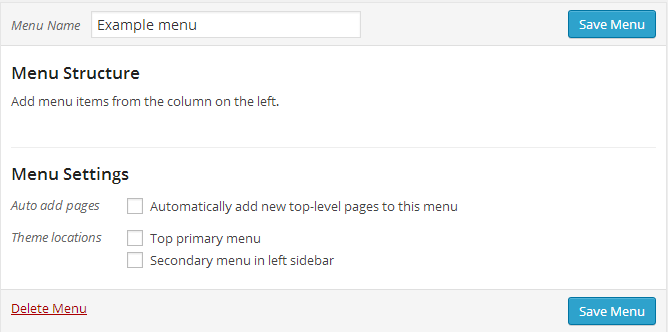
The first section is called Menu Structure and there the menu items for your menu should be added. In order to add menu items you will need to pay attention to the block positioned left from the menu editing block we have mentioned previously.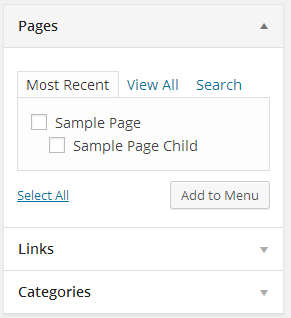
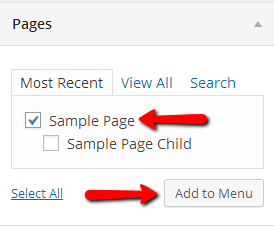
The block in question is separated on 3 drop down interfaces called Pages, Links and of courseCategories. These are the type of items you can add to your newly created menu. Let’s say that you would like to add a page to the menu. In order to do so you will need to select the page from those listed in this interface and simply press the Add to Menu button.
Then our page will be properly added to the menu as you might notice by the newly appeared item in the Menu Structure interface.
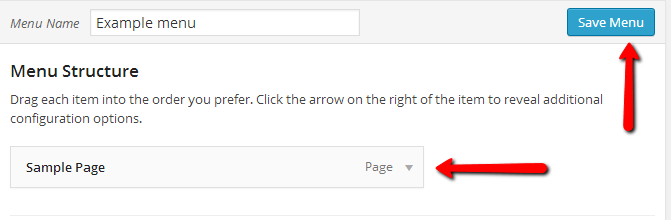
Next you will need to save the menu and this can be done easily if we press the Save Menu button.
The second interface from the menu editing block is called Menu Settings. This interface contains few options for where the menu should be displayed.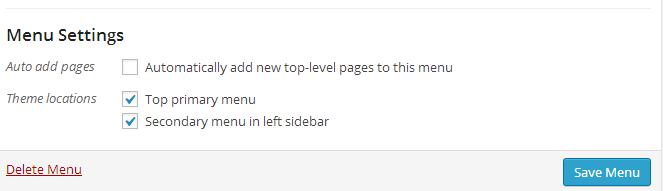
Most probably you would like the menu displayed both on the top navigation menu and also the left sidebar of your website. Thus you should select the same options as we have done. The first option is for configuring your WordPress platform to automatically add the newly created pages directly into the menu.
STEP 3Displaying your new Menu
Once you are done with the previous step you will notice that the menu still does not appear on your website. Well this is because you have not specified which menu your website should use. If you check again the Menus page in your admin area (Appearance>Menus) you will notice that a new tab has appeared next to the Edit menus tab at the top of the page: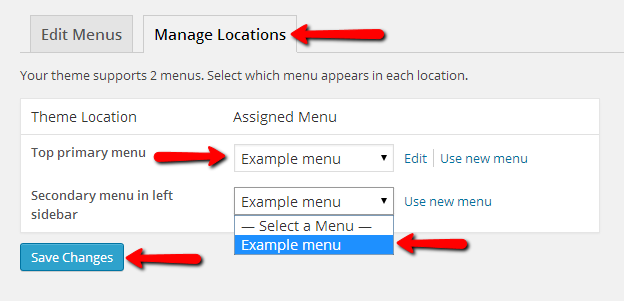
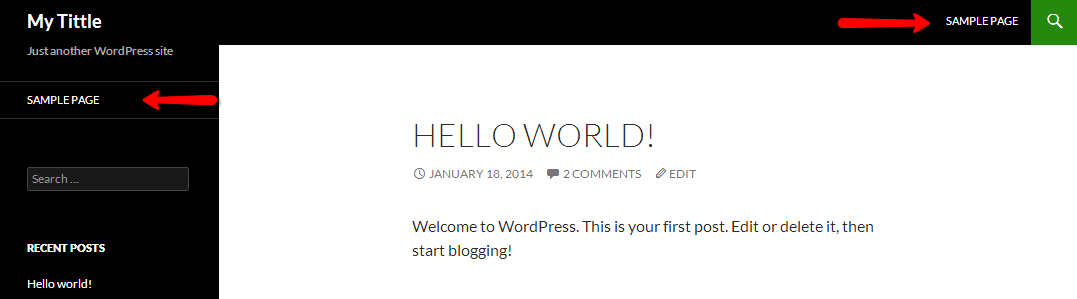
The new tab is called “Manage Locations” and it serves exactly for managing the locations your menu should appear as the name of the tab suggests. So in order to get the menu displayed on the top navigation bar of your website you will need to select the menu name from the drop-down list for the Top primary menu option and save the changes by clicking on the Save Changes button.
Of course if you need the menu also displayed in the left sidebar simply use the next option calledSecondary menu in left sidebar” by choosing the menu name from the drop-down list.
Congratulations! You can now fully manage your menus!
