STEP 1General Settings
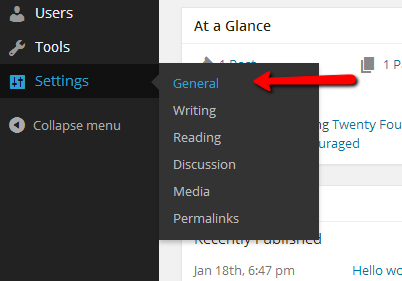
In order to begin reviewing and changing the setting of your application you will need to login in the admin section of your WordPress application. Once you are there, navigate to Settings>General.
This is the first section of settings we are about to review in this tutorial and it contains the mandatory settings your website will be using. Interesting fields here are the first 4 fields.
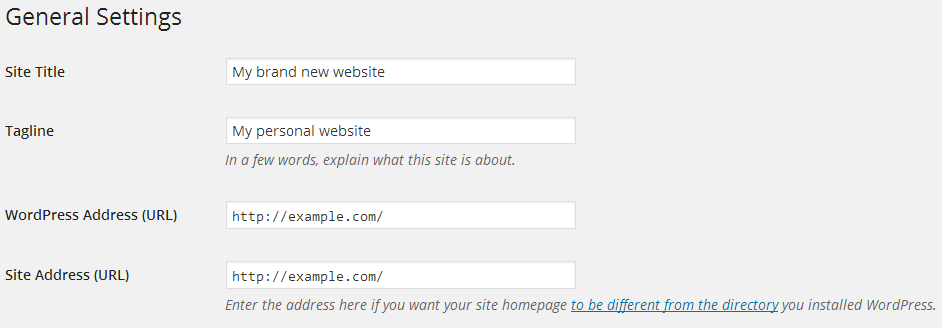
- Site Tittle – The tittle of your website will be displayed on the home page along with any other pages you would like to.
- Tagline – Brief explanation what your website is about.
- WordPress Address (URl) – The full URL to your WordPress installation.
- Site Address (URL) – Change this field only if you are using the feature which allows for the files of the application to be in different directory that the one your domain name is accessing.
Another important set of options are the registration options.
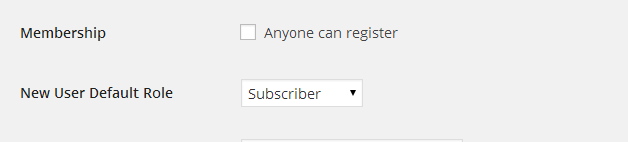
Use these settings in order to allow the registration of users (of course if the users should be allowed to register) and also to define the role of the newly registered users. Note that if enable the registration of users on your website you will need to ensure that the registration form will be protected from spam users using any human verification methods such as reCaptcha.
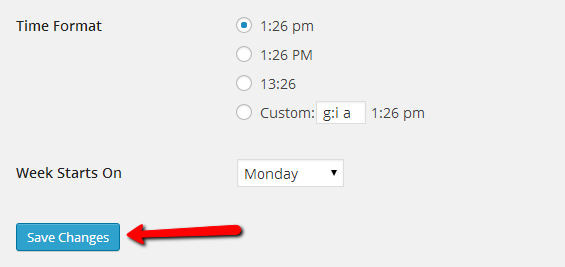
Once you are done with the general settings for your application hit the Save Changes button located at the bottom of the page.
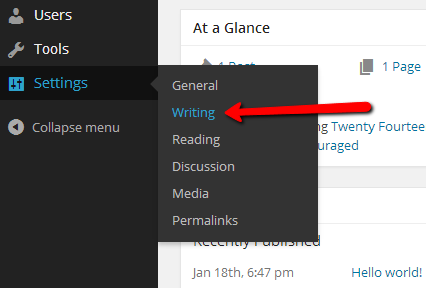
STEP 2Writing Settings
The next section of settings you should consider is the Writing settings. These are available under your admin dashboard and navigate to Settings>Writing.
The first few settings are related to the configuration of your posts.
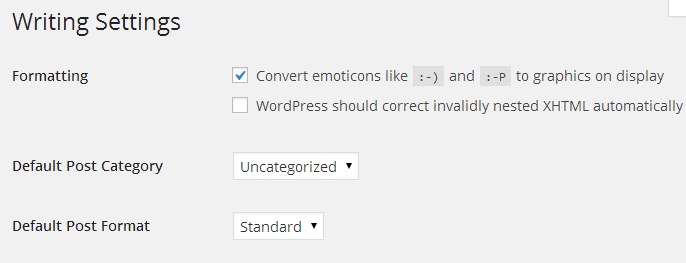
- Formatting – Few options related to how the emoticons should be displayed and also ifWordPress should automatically correct invalid XHTML.
- Default Post Category – This setting is used to define the default category a new post should be added to if you have not selected the category of the post manually.
- Default Post Format – The default format of how a post should be structured and displayed after posted.
Additionally on the same page you will find the settings for creating posts via the email service of the application.
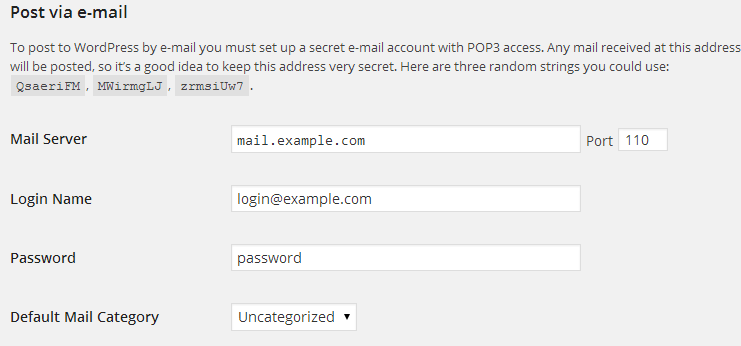
As the tip above suggest you will need a mail account which you can easily create in your cPanel. If you are not quite sure how this should be achieved please check our cPanel tutorial for how to create a mail account.
Note that the email account should be with secured name so it cannot be abused by spam since it will directly post literally ever received email.
- Mail Server – The mail server for the created email account. Usually this is the mail.yourdomain.com subdomain which is taking care for the emails for your domain name.
- Port – The POP3 incoming emails protocol. Usually it is 110 (No SSL)
- Login Name – The exact email account you have created in your cPanel > Email accounts.
- Password – The password for that email account.
- Default Mail Category – The default category of the posts via email should be assigned to.
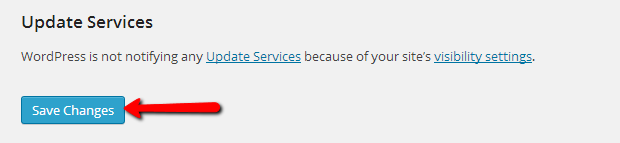
Once you are done editing the changes on this page hit the “Save Changes” button so the configuration can be saved.
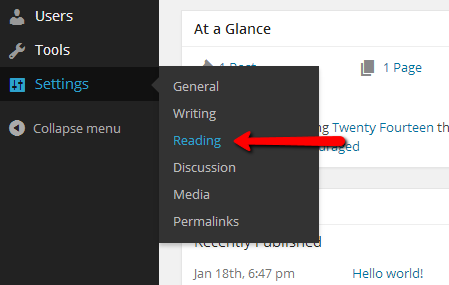
STEP 3Reading Settings
The next section of settings is the Reading section which you should be able to find in your admin area by going to Settings>Reading.
This section is for configuring how the elements on your pages will be displayed and also how the information should be entirely read.
- Front page displays – What your home page should be displaying. The available options here are:
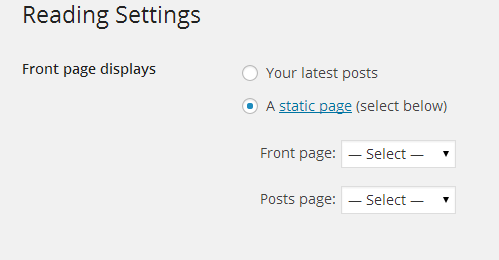
- Your latest posts – The posts you have recently posted sorted by the post date in descending order.
- A static page – Static page which you have created. By selecting this option you will need to defile Front Page and Post Page. The front page is one of the pages you have already created and the Post Page is also a page you have already created.
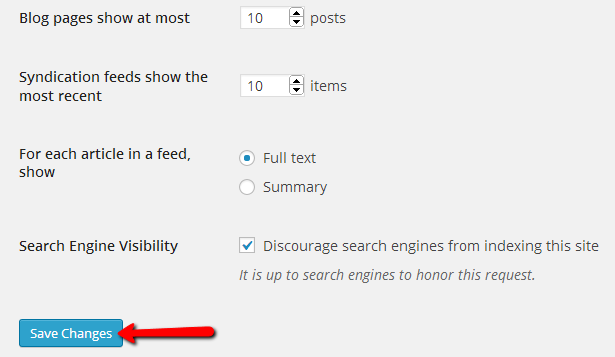
- Blog pages show at most – The number of posts that will be shown on your blog page
- Syndication feeds show the most recent – the maximum numbers of items that can appear in the RSS feed for your website.
- For each article in a feed, show – The content you would like displayed for your articles in the RSS feed.
- Search Engine Visibility – This setting is if you would like the search engines to index your website or not.
Once you are done with all of the settings in this section hit the Save Changes button so your changes can be saved.
STEP 4Discussion Settings
The next section of settings we will review is called “Discussion” and it is available by loging into your admin dashboard and then navigating to Settings>Discussion.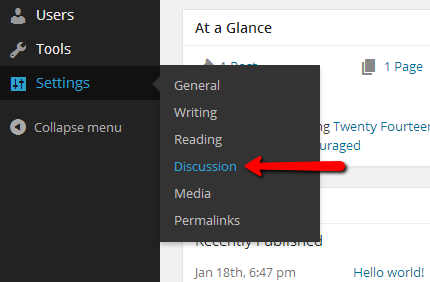
The same as the name suggest this section includes settings related to the notifications you are receiving from your blogs and also few other settings related to the avatars used by the members and also for blacklisting certain words if you do not want them displayed in the comments.
The settings from this page you might want to use and we are recommending are:
- Other comment settings - The settings you will need to consider as mandatory due to security purposes are:
- Comment author must fill out name and e-mail
- Users must be registered and logged in to comment

These settings will ensure that the user writing the comment is an authenticated user and not a spam bot. If you leave these options unchecked you are allowing basically anyone to write comments on your articles or blogs.
- Before a comment appears – These settings will allow you to choose when a comment should appear. Usually you would like the comments to appear only if you approve them:
- Comment must be manually approved
- Comment author must have a previously approved comment

- Comment Moderation and Comment Blacklist – Unfortunately it will be quite hard for your to configure these if you have just started with your website due to the fact that these should be manually configured after for example a spam or offending comment has been posted.
The other settings on that page are related to the avatars for your users and you should be able to configure these based on your personal likes: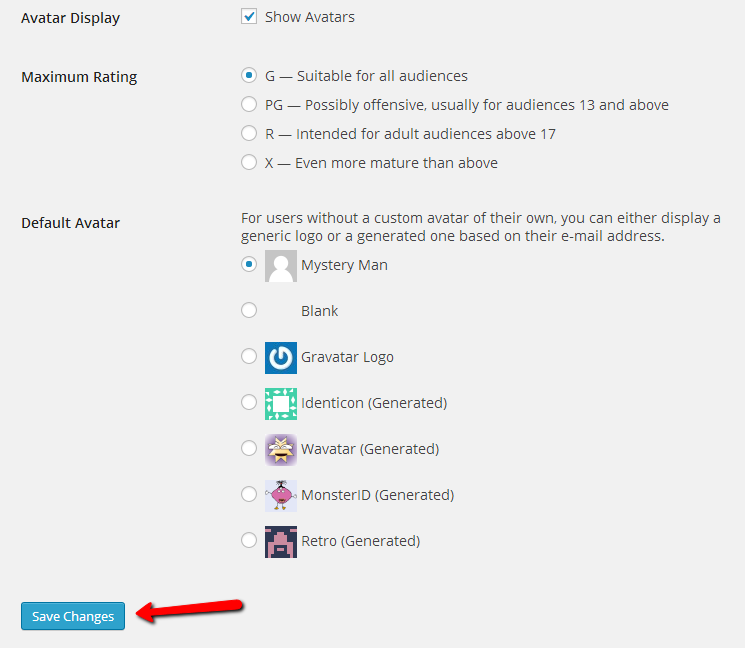
Once you are done configuring this section please press the “Save Changes” button in order for the changes to be saved successfully.
STEP 5Media Settings
Next we will explain the Media section of settings available under your admin area > Settings > Media.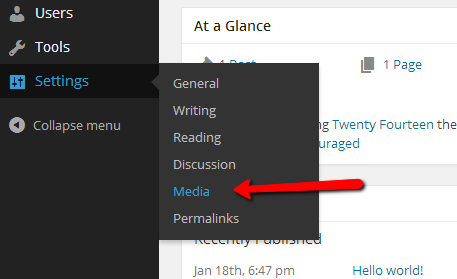
This section contains settings mainly related to the media types you are uploading on your application. Please take some time to configure these based on your needs.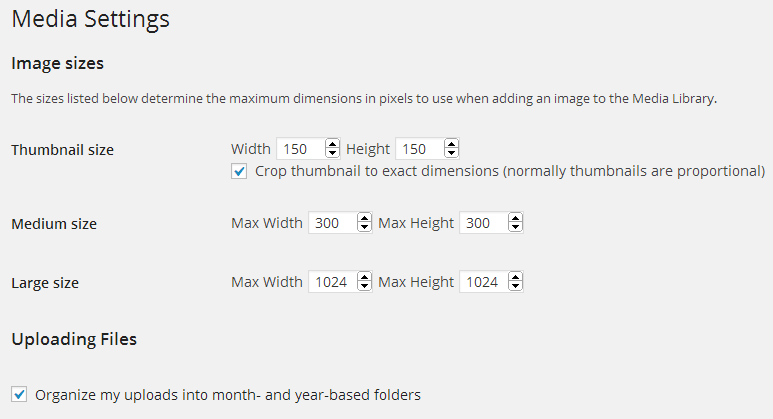
All of the settings are pretty much self-explanatory and you should be able to easily configure these.
Once you are done please use the “Save Changes” button in order to save the changes you have performed.
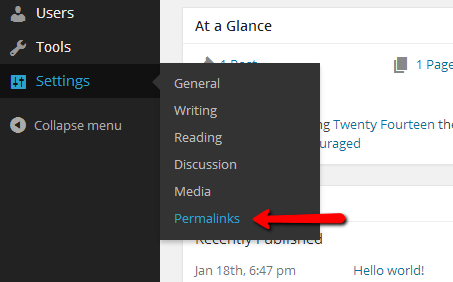
STEP 6Permalinks Settings
As soon as the settings on that section are saved you can move to the last section of settings called “Permalinks”. It is usually available in your administrators area located in Settings>Permalinks.
This section serves for the configuration of the links and URLs on your application. By default the application has set a no permalink structure: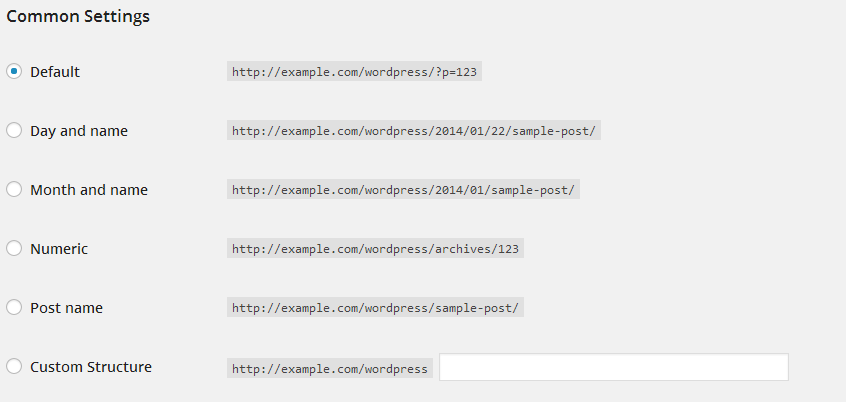
However based on your needs and personal likes you can set the Permalink structure to any of the provided in that configuration option. You are even provided with the option to specify your own “Custom Structure”.
Keep in mind however that in order to use any different than the default Permalink structure you will need to ensure that the default .htaccess file of the WordPress application is presented on in the file list of the application and also that it contains the following lines:
Default WordPress .htaccess content:
# BEGIN WordPress
<IfModule mod_rewrite.c>
RewriteEngine On
RewriteBase /
RewriteRule ^index\.php$ - [L]
RewriteCond %{REQUEST_FILENAME} !-f
RewriteCond %{REQUEST_FILENAME} !-d
RewriteRule . /index.php [L]
</IfModule>
# END WordPress
Once you are done with all these settings you should hit the Save Changes button in order for the changes to be saved and you are done editing your WordPress settings.
