STEP 1Accessing the Theme Customization Page
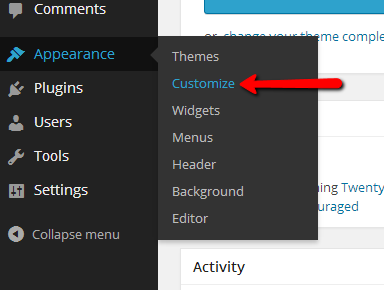
In order to customize the theme you are using on your website you will need to login into the WordPress admin area for your website and then navigate to Appearance>Customize.
The customization page this tutorial will cover is for WordPress version 3.8.1, however customizing themes in order versions should be similar to the bellow described process.
STEP 2Customizing the Site Title
As soon as you access the Customize page after clicking on that link you will be able to notice the theme you are currently using at the right part of the screen and also the vertical customization menu located at the left part of the page.
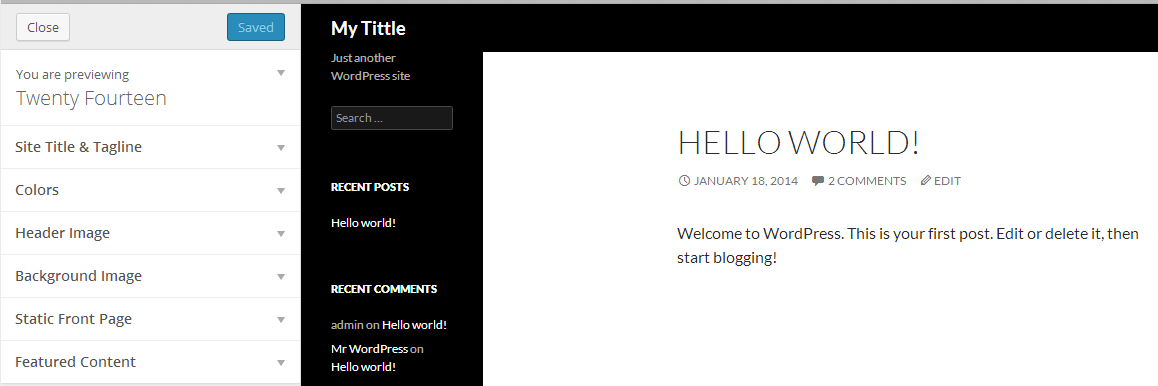
Of course this tutorial assumes that you are using one of the default themes provided with the initial installation of WordPress, however if you have any custom installed themes the editing options on that page might be more that the described in this tutorial.
The customizable elements for your theme contained in the left vertical menu are as it follows:
- You are previewing - The theme name for the theme which appearance you are editing. In this tutorial we will edit the default “Twenty Fourteen” theme.
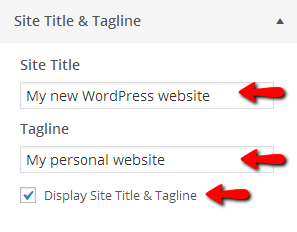
- Site Tittle & Tagline – This section provides options for you to consider for setting up the Site Tittle and also the Tagline separately. For the purpose of this tutorial we will set these with example values. Of course if you would like this text displayed you should also make sure that there is a check on Display Site Tittle & Tagline.
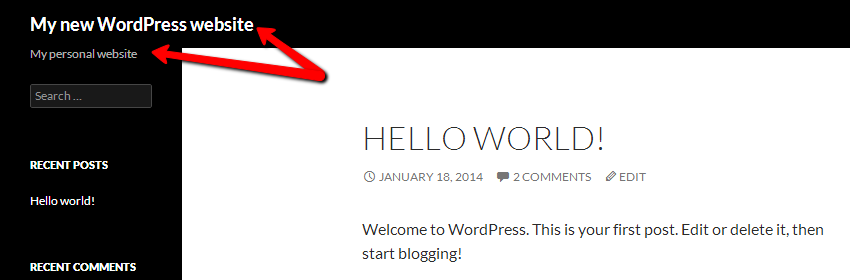
These changes will be applied directly to the website tittle in the right theme preview part of this page.
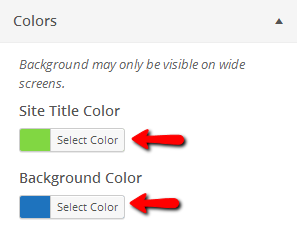
- Colors – This section will allow you to edit the color of the background for your website and also the color of the tittle for your web-site. Note that the background for this theme is visible only on big resolutions like widescreen monitors for example. For the purpose of this tutorial we will update the colors appropriately.
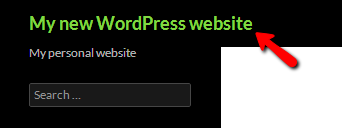
In order to preview the changes you have just made you should be able to notice that the tittle color has been changed in the right template preview part of this page.
STEP 3Customizing the Background
There are few customizations for the background of your website available:
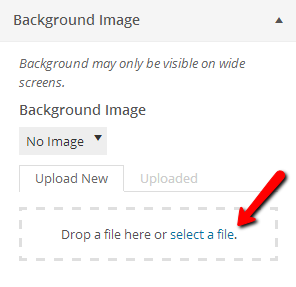
- Background Image – This section will allow you to change the background image of your website. If you have not uploaded any images into your media library then you will be presented with the option to upload such in order to use it as background.
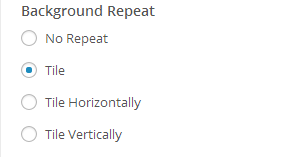
- Background Repeat – This options is if you would like to repeat the background image. Usually this is used for pattern type of images which are forming a nice looking background if repeated.
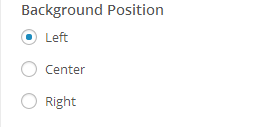
- Background Position – The actual position of the background image. Note that this will matter only if “No Repeat” option is selected from the previous repeating option.
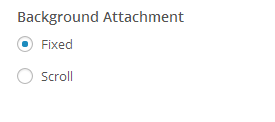
- Background Attachment – This option is used if for example you would like your background to remain on focus no matter how much you are scrolling on the page.
- If however you have already uploaded images you can simply switch to the Uploaded images tab located right next to the Upload New tab. There you will be able to select one of the images you have already uploaded to your website.
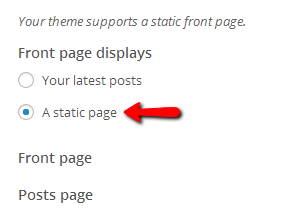
Once you select the image you will be provided with the background options you will also need to configure. - Static Front Page – This section is used for changing the landing page when someone visits your website. With the default settings after a clean WordPress installation (without any changes being performed to the style of your website) all of your latest posts are displayed at the Home Page for your website. Using this option will allow you for example to choose a static page (most commonly called a splash page) where you might input some welcome message to the users visiting your home page. It can be easily achieved by simply choosing the “A static page” option and then selecting one of your existing pages.
STEP 4Configuring Featured Content
The next couple of options will allow you to configure the featured content of your website.
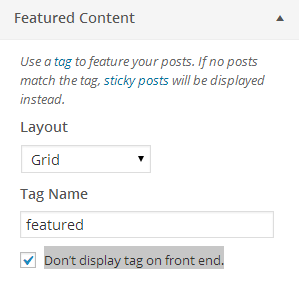
- Featured Content – This section is used for defining the featured content you would like displayed on your web-site. There are two options in this section.
- Layout – The actual layout of the featured content. The available options here are Grid andSlider.
- Tag Name – The name of the tag which the featured components will be fetched with. For example all of the posts you would like displayed as featured should contain the featured tag in their tag list.
- Don’t display tag on front end – If this checkbox is checked the actual tags for your posts will not be displayed on your front page.
With all these settings configured properly you can achieve a great looking theme configuration which will make your website esthetically unique.
Congratulations! You can now fully customize the theme of your website!
