STEP 1Accessing the Posts Page and adding a new post
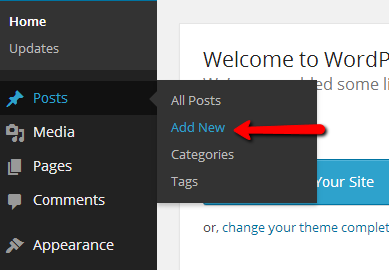
First thing you will need to do is of course to login into the admin area of your WordPress. Once logged you will need to navigate to the Posts>Add New.
Once you have landed on the Add New Post page you should be able to notice the actual interface for adding a post.
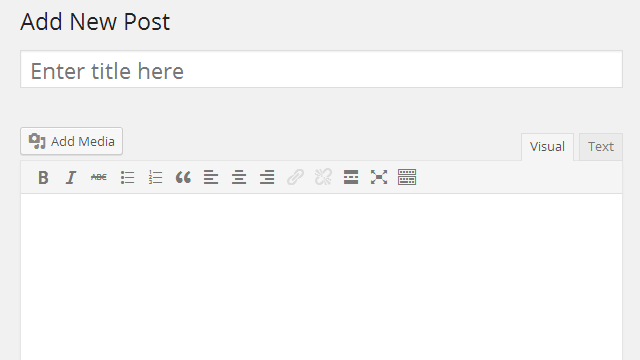
The components of that interface are the following:
- Tittle Field - Servers for inserting the tittle you would like your new post to use. This tittle will be displayed on your website where the post is depending on the way you have configured the display of your posts.
- Standard Text Editor - The text editor is the place where you will be adding the content of your post. You can either choose to visually edit the content of your post or you can edit it as code by pressing the "Text" named tab at the upper right part of that editor.
- Add Media - This button is used to add media content such as images or videos either from the media library of your website or by directly uploading the new images/videos.
STEP 2Configuring your new Post
The next elements on that page are presented with blocks from the right side of the page. These are mostly related to the configuration of the post.
- Publish - This block contains information related to the publishing of the post. Initially when you are creating the post you will have the options to save it as Draft. If you would like your post to appear immediately on your website you might need to change the value of the "Status" field in this block.
You can also edit the visibility of the post. For example if you would like your post to remain private or password protected you can simply click the Edit link next to the Visibility option and you will be able to edit the visibility of the post.
Another great feature of this block is that if you would like of course you can schedule when the post to be published. This can be easily achieved from the Edit link next to the Publish option.
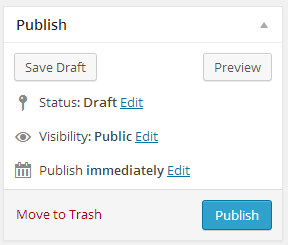
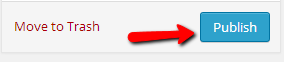
At the bottom of this block you have the option to either Move to Trash your post or to Publish it.
- Format - This block allows you to choose a default template for your post. This basically mean that you will be choosing how the elements of the post should be placed on the pages where the post will be displayed.
- Categories - This block serves for categorizing your post. You can either use one of the existing categories or you can directly create a new one.
- Tags - The tags block will allow you to easily specify the tags your post can be categorized to. Additionally you have the option to also assign some of the most used tags on your website directly to the post.
- Featured image - This block is presenting you with the option to upload a featured image to your post. This image will be used where the post should be entirely displayed or at the Post home page of your website.
Once you configure all of this features and you Publish your post you are done with the creation of your post.
STEP 3Editing or Deleting a Post
The next part of this tutorial is related to how a post should be edited or deleted. In order to edit or delete a post you will need to navigate to Posts>All posts.
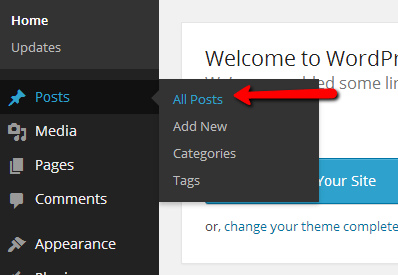
There you will be able to review all of the existing posts in the table view presented at the center of the page.
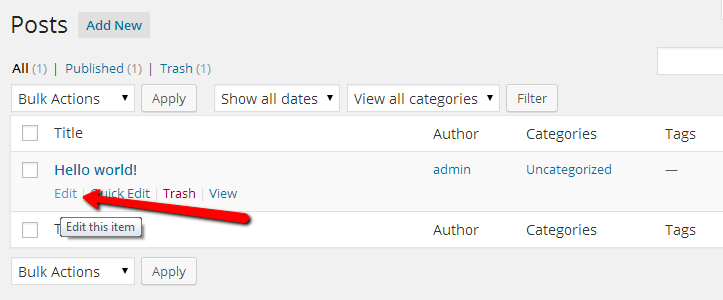
Editing a Post is fairly simple. The only thing you will need to do is to hover over a post and the edit link will appear. Once you click it you will be redirected to the same interface as the one for adding posts where you should be able to edit the post.
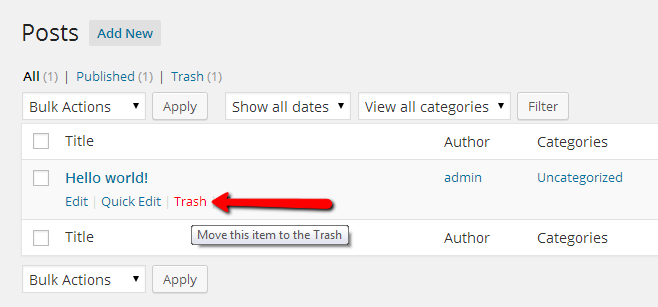
Deleting a post is even simpler than editing or creating one. Once you hover over the post you would like to edit simply use the Trash link which will send the post directly in the trash section.
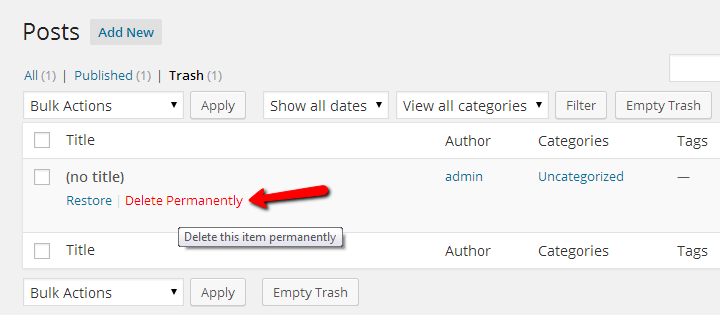
If you would like the post permanently deleted you will need to access the Trash section and then hover the post once again which will display the Delete Permanently option.
Congratulations! You can now fully manage your posts!
