STEP 1 Add a new page
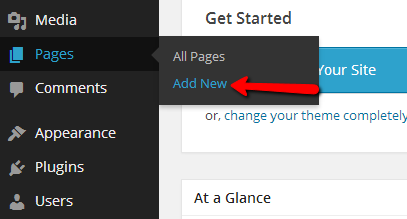
We will begin illustrating how a page should be created. Assuming that you have already logged into your WordPress admin area you will need to navigate to Pages>Add New.
At the next page called “Add New Page” you will be presented with few fields and options separated conveniently.
The first field on that page is the title field which you should fill with the actual tittle of your page.Once you add the title of your page you should proceed adding the content to the page via the standard text box bellow the tittle box.
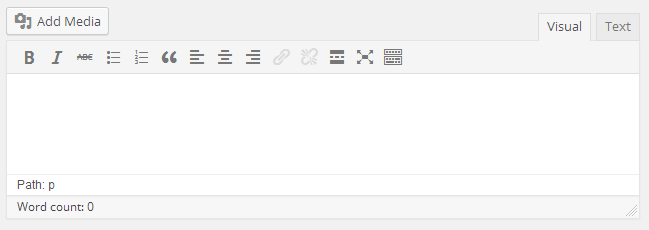
Additionally you have the option to Add Media to your page using the respective button at the top of the input box for the content on your page.
When you finish adding the content of your page you should adjust the page options presented in the blocks at the right side of the screen.
The first block is called “Publish” and it serves for the publishing options of your page. At the top of the block you will be able to see the Save Draft and Preview buttons. The Save Draft button allows you to save the page you are currently adding as a draft which means that the page will not be displayed. The second button – Preview will provide you with live preview of how the page you are adding looks like.
- Status – The status which the page will be saved. The available statuses are Draft andPending Review.
- Visibility – The visibility your page will be saved with. The available options here are Public,Password Protected and Private. Choose the one which suits your needs the most.
- Publish – This options is quite useful if you would like to schedule the publishing of your page for some certain point of time. Here you will be able to select the exact date and time when this page should be published.
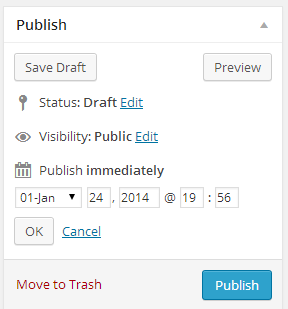
If you would like the page to be deleted please use the Move to Trash link at the bottom of this block or if you are ready to publish your page use the Publish button at the bottom of that block.
STEP 2Configure the New Page
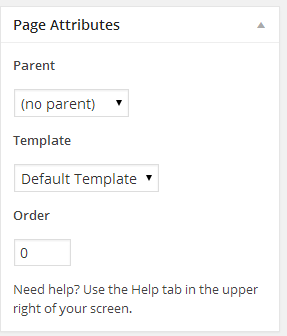
The next block is related to the Page Attributes and as the name suggests you will be able to choose different attributes for this page.
There are 3 options under this block:
- Parent – This options allows you to choose the parent page of the current one if of course you would like the current page you are adding to become a child page of already existing parent page.
- Template – You can choose which default template this page can be using when it is displayed.
- Order – The order how your new page will be displayed.
The last block of this interface is the “Featured Image” block which is used usually for adding a featured image to your page. Depending on the template you are using this image can be displayed differently.
Once you are done configuring all these options you can simply press the “Publish” button at the top right block and your page will be published.
STEP 3Editing or Deleting a Page
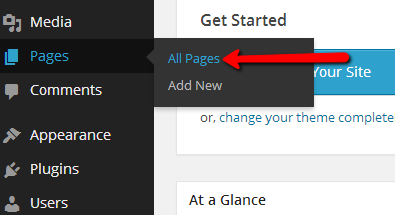
The second part of this tutorial will cover how a page can be edited or deleted. In order to access the list of pages so you can choose which pages you would like to edit or remove you will need to be logged in your WordPress admin area and access Pages>All Pages.
The “Pages” page contains a table view holding all of your pages. It should be available right at the center of the page and if you would like to Edit a page you should simply hover on the page you would like to edit and use the Edit link.
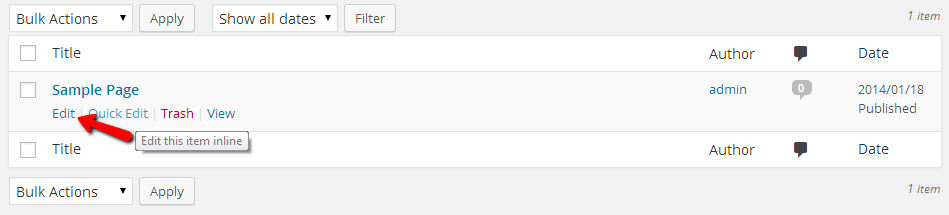
This link will basically forward you to a page where you will be presented with the same interface used for adding a page, however this time it will be filled with information for the page you are editing. Respectively you should edit the information depending on your personal needs and then use theUpdate button.
Last but not least in order to delete a page you will need to once again access the “Pages” page from your WordPress admin area Pages > All Pages. Once you hover over the page from the pages listed in the table view at the center you will be able to notice the “Trash” link which is used for moving the selected page into the “Trash” section.
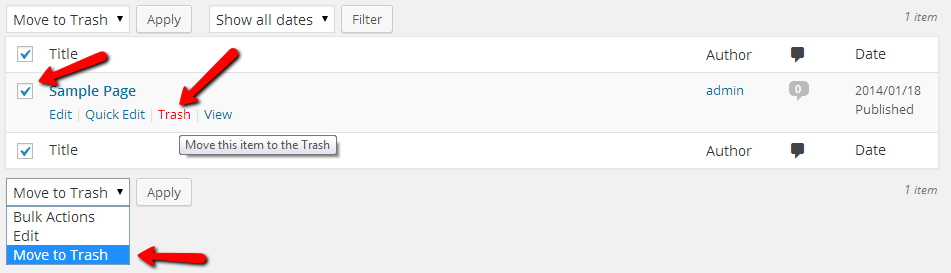
Of course the other option you can consider is to simply check all of the pages you would like to move to the “Trash” section and use the drop-down list bellow (or above) the table view. By selecting the “Move To Trash” option and pressing the Apply button you will move all of the checked pages to the Trash.
If you would like to delete a page permanently you will need to access the Trash section available above the table view at the “Pages” page and you will be redirected to the page itself. Again a table view will be presented with all of the pages moved to the Trash section and if you would like to Permanently Deletea page you will need to hover the page you would like to delete and to use the Permanently Delete link.
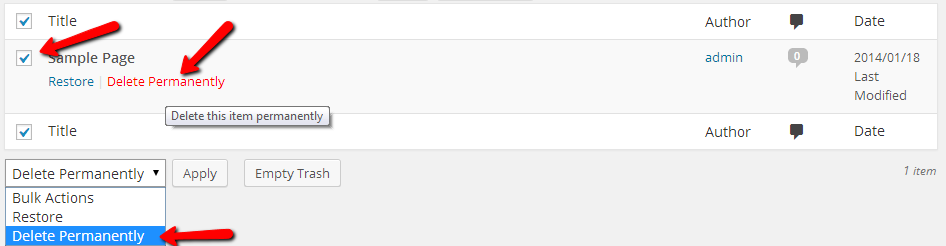
Of course if you would like to delete multiple pages you can select the pages with the checkbox located just before the page name and then select the Delete Permanently option from the dropdown list located bellow (or above) the table with all of the pages.
Congratulations! You can now fully manage the pages on your website!
