Tags in WordPress are commonly used for categorizing posts based on key words you might have already specified or you have just created with the concrete post you are writing. Tags allow large amount of posts to be categorized under a single tag due to the fact that once you create a tag you can use it in as many as posts you would like to.
In this tutorial we will explain how you should add, edit or delete predefined posts using the WordPress admin area.
STEP 1Accessing the Tags Page
We will begin with the tags home page located in your Administrators area. Navigate to the Posts>Tags section from your main admin panel.
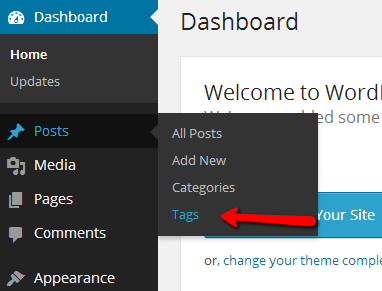
Once you click on the Tags link you will be redirected to the Tags home page.
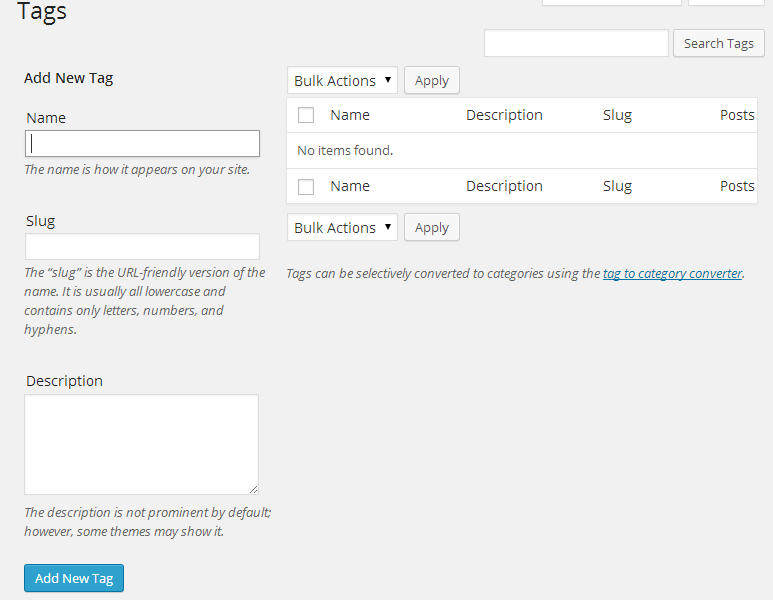
On this page you will notice that the left section of the page is for “Add New Tag” and the right section will present you with a table view of the already existing tags.
STEP 2Adding and Editing Tags
If you would like to add a new tag simply use the left part of the page and make sure that the required fields are properly filled:
- Name – The actual name of the tag you would like to create
- Slug – The URL-Friendly version of the tag name
- Description – Used for descripting the tag you are creating. Usually it is set for your convenience and it will not be displayed.
Once you are done filling these fields you will need to click on the Add New Tag button in order for the new tag to be added.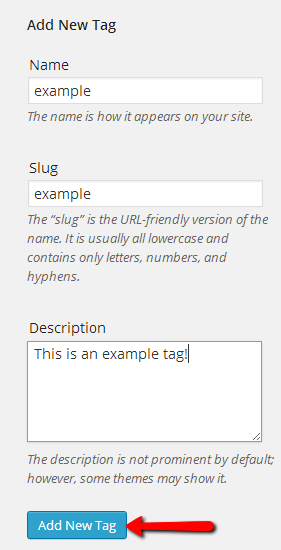
You will notice how the new tag you have just added will appear in the table view located in the right part of the page. If you would like to edit that tag you will need to hover over the tag name and use the Edit button.
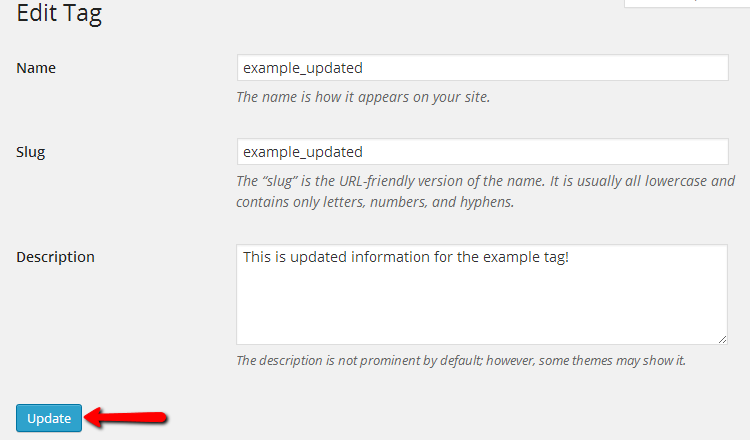
The Edit button will redirect you to an interface for editing your tag information. The interface is similar to the one you have used for adding the tag in the beginning of this tutorial, however the fields displayed will be already filled with the information already existing for the specific tag you are editing. Once you are done editing the tag use the Update button at the bottom of the page in order to update the information for the specific tag.

The final part of this tutorial will provide you with more information on how a tag should be deleted.
STEP 3Deleting Tags
In order to delete a tag you will need to back to the Tags home page (or navigate to your WordPress admin dashboard and go to Posts>Tags).
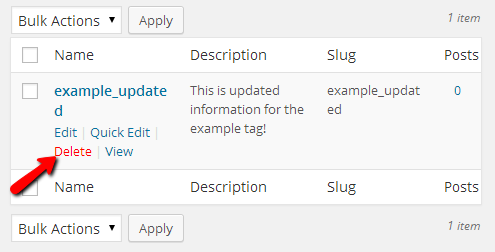
Once there you will need once again find the tag you would like to delete in the table view located at the right part of the screen. As soon as you find it you will need to hover over the tag name and to use the appeared “Delete” link which will be in red color.
Congratulations! You can now fully manage the tags on your website!
