If you are planning to support user registration or provide access to your website to large amount of users then most probably you will reach a moment when you will need to know how exactly all of your users should be managed. In this tutorial will explain how you should add, edit or remove users from your WordPress website.
STEP 1Add new Users
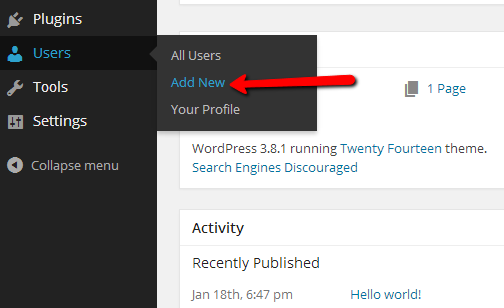
We will begin with adding a new user to your WordPress website. This can be easily achieved by logging into your admin are and then navigating to Users>Add new.
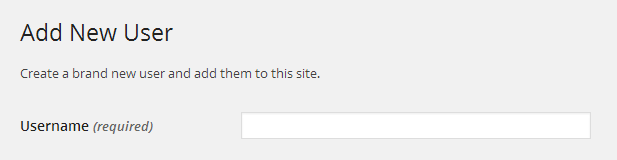
Then you will be redirected to a page called “Add New User” where by simply filling few fields you will be able to add a new user. The fields here are intuitive and associated with the required information for each user so we will address below only the most important of them:
- Username – The actual username the new user will be using for logging.
- E-mail – The email address associated with this user.

- Send Password – If you check this option right after you create the new user your WordPress website will automatically send the password to the user email you have entered.

- Role – The default role this user should be using.

Once you are done filling the required fields you should simply press the “Add New User” Button located at the bottom of the page so the new user can be added.
STEP 2Edit or Delete Users
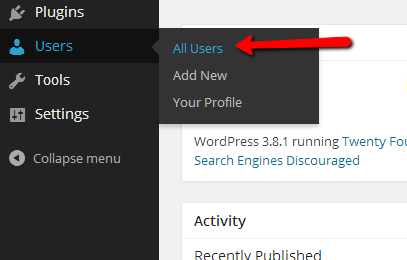
In order to edit or delete a user you will need to access another page from your WordPress admin area and this is Users>All users.
This link will redirect you to a page called “Users” as the name of the link suggests. At this page the first thing you will most probably notice is the table view at the center of the page where all of your website’s actual registered users are listed.
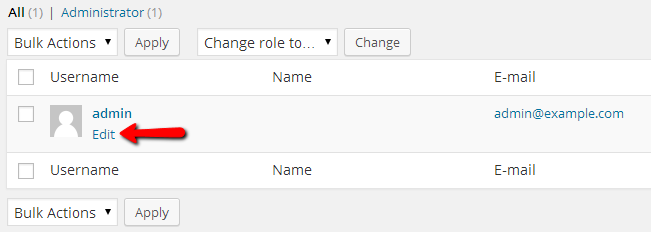
In order to edit a single user you will need to locate that user in the table and hover with your mouse over the user. Then an Edit link will appear which if pressed will redirect you to a page similar to the above described Users Adding page where all of the current information for the user will be already presented as it was added when the user was created and you should edit it depending on your needs.
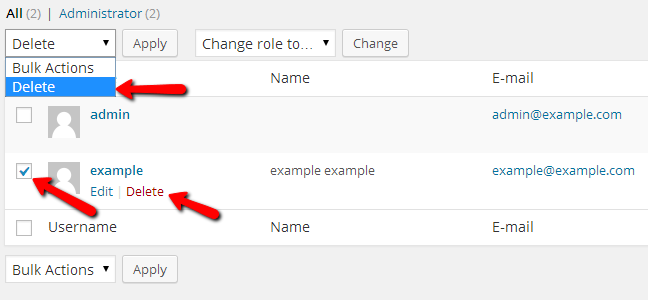
Last but not least we will show how you should delete a user. Assuming that you are logged into your admin area and you have accessed the Users>All page you should simply hover over the user you would like to delete and use the Delete link. Or you can check the checkbox for the specific user(s) and use the Drop-Down list before the apply button located at the top of the table view. If you are performing multiple users deletion using the Drop-Down and the Apply button will be the best choice.
Congratulations! You can now fully manage the users registered on your website!
