NextGEN Gallery plugin is an easy to use WordPress plugin which will allow you with few clicks to create a beautiful looking web gallery. You can include the created galleries in pages or posts using the additional button added to the editor of these components and also you are able to create galleries on the fly without the need to have predefined galleries.
In this tutorial we will provide you with information related to how you should create your first gallery page and how the actual gallery should be managed.
STEP 1Installing the NextGen plugin
First we will begin with the installation process of the NextGEN Gallery plugin. The process is fairly simple, however if you are not quite sure how it should be handled you should check another tutorial from our WordPress series related to the management of your Plugins.
Once you access the plugin installation page you will need to find the plugin using the search tool by entering the name of the plugin – “NextGEN Gallery” and pressing the “Search” button.
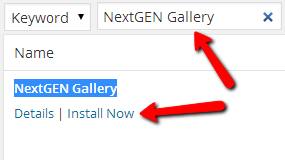
Next you will need to install and activate the plugin.
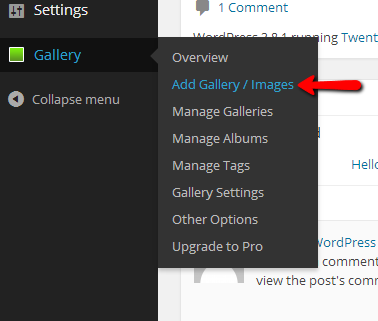
Once the plugin is installed and activated you should be able to notice the additional menu item called “Gallery” appearing in the navigation menu of your admin area.
STEP 2Creating our first gallery
Now let’s create our first gallery and later we will discuss how that gallery should be added to any of your pages or post. In order to create a new gallery you should navigate to Gallery > Add Gallery/Images.
On the next page you should be able to see the interface of the plugin where you should create a new gallery and add images to it. In order to do so please specify the gallery name and then add the files from your local computer.
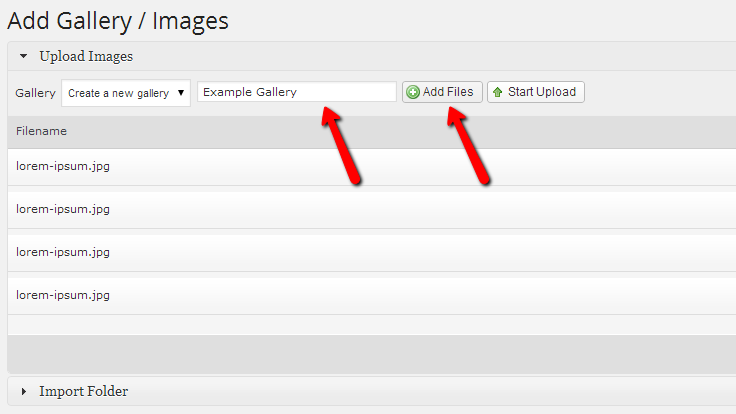
Once you have added all of the images you would like to use in your gallery please use the “Start Upload” button in order for the images to be uploaded properly. As soon as they are you will be prompted with a message indicating the successful upload at the top right corner of your screen.
Assuming that you have uploaded all of the images you would like displayed in the newly created gallery it is time for the gallery page to be created. Note that this page is only a suggestion and you are not obligated to create it since the NextGen WordPress gallery plugin can be included in any existing page or post you have.
In order for the gallery page to be created you will need to create the actual page you would like the gallery displayed at. If you are not quite sure how you should manage your pages please check another tutorial from our WordPress series.
Once you are ready with the gallery page you should actually add the gallery you have created via theNextGen WordPress gallery plugin. This is quite an easy task to handle. If you check the tool bar of your page editor you will notice a new icon appearing at the end of the editor.

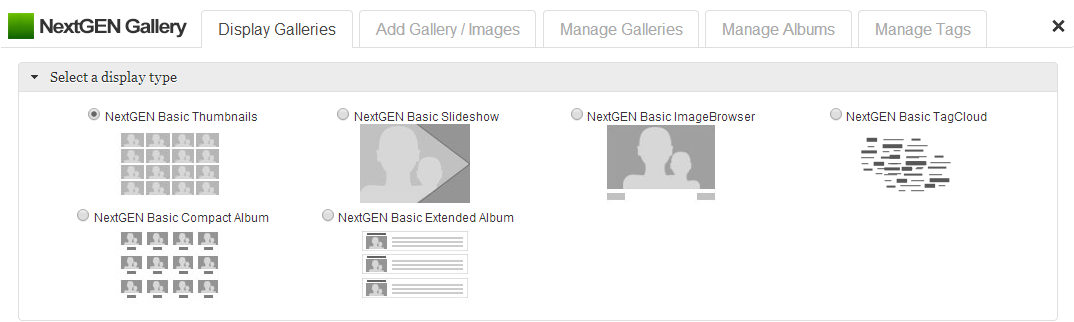
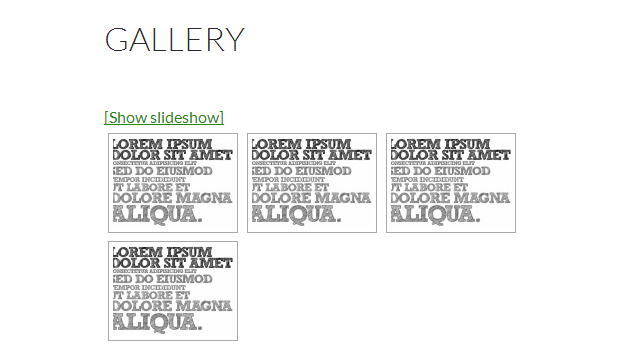
If you click on that icon you will be presented with the NextGen gallery options. There you will need to configure how you would like your gallery displayed on the page. There are few available options such as showing only the thumbnails of the images and even displaying a slideshow.
If you click on the next configuration displayed as “What would you like to display?” you should be able to select the previously created gallery by simply using the “Galleries” drop down menu where the name of your gallery will be displayed.

Once you select your gallery you can simply click on the “Save” button located at the bottom of the page in order for the changes to be saved.
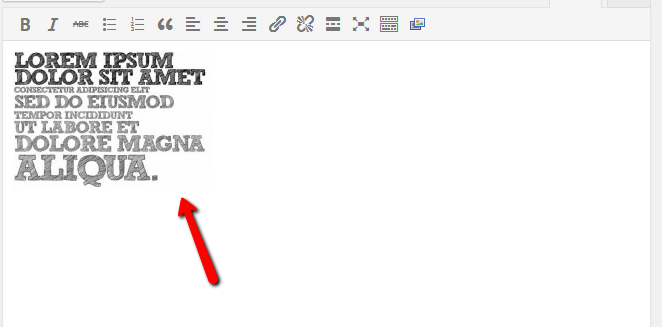
You will then notice that an image will appear in the page editing area. It is representing the locating where your gallery will be displayed on the page. Since you are able to add multiple galleries you are also presented with the option to edit the galleries by clicking on the appearing images in the editing area of your page.
Once you have added and configured your gallery it is time to publish the page where the gallery should be displayed using the “Publish” button for your page or post.
Of course there are quite a lot of options that the NextGen gallery plugins provides, however reviewing all of them is not a subject of this tutorial and if you would like to do so you can check the official documentation of the plugin at its homepage.
Congratulations! You can now create as many as galleries you would like to!
