Google Analytics s a tracking service provided by Google and widely used for tracking the access rate and the locations which the users are browsing your website from. It also provides detailed reports and graphics on the accessed elements – usually pages from your website. This tutorial will show you how exactly you should integrate that service with your existing website.
You can signup for the service at its official homepage.
STEP 1Installing the Google Analytics plugin
The service will be integrated by using a plugin distributed widely free of charge. The plugin is called “Google Analytics for WordPress” and you can directly search for it via your WordPress admin area > Plugins > Add New.
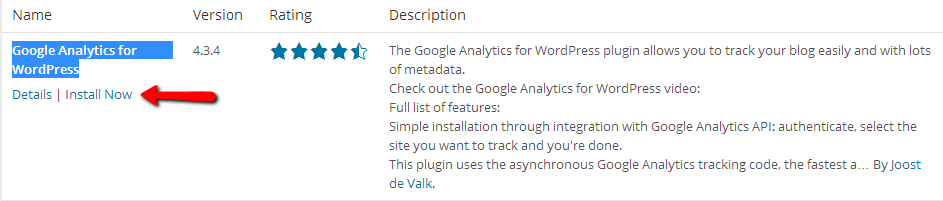
If you have missed our tutorial on how to install plugins on your website in WordPress please read it carefully before installing the plugin.
Once you have installed and activated the plugin you will face a Warning at the top of your admin area. This warning informs you that you will need to configure the plugin for the Analytics Profile which should be tracked.

Please click on the link in that warning message and you will be redirected to the configuration page for that plugin.
STEP 2Configuring the Google Analytics plugin
There you should start configuring the module by first entering the Tracking ID code.
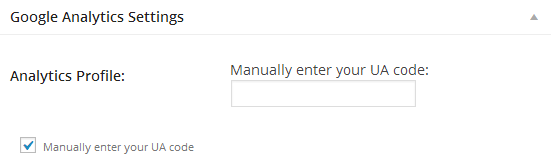
Please check the “Manually enter your UA code” so you can be provided with the textbox above this option for entering your Tracking ID. Now the tracking ID on the other hand can be obtained by logging into your Google Analytics admin area and navigating to the “Tracking Info” section where the “Tracking Code” link will be available.
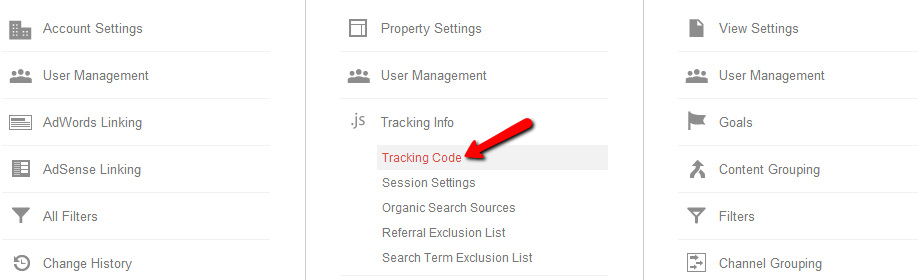
At the tracking code link you will be provided with the Tracking ID and also the tracking code. Use the Tracking ID to fill the “Manually enter your UA code”.
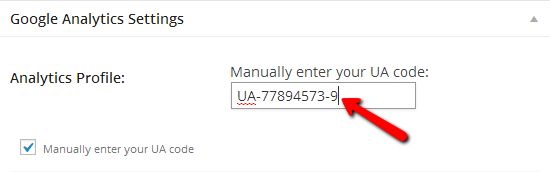
For the purpose of this tutorial we have generated a completely random code.
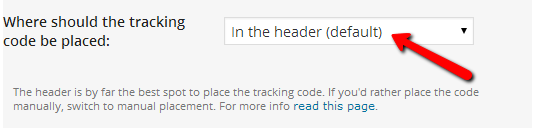
Once the code is entered you should proceed to the next setting which is for the location of the tracking code on your website. Google recommends that the code should be placed inside the <body> tag of your website and this is usually where the content of your website is codded.
The plugin we have mentioned and used for the purpose of this tutorial allows you to simply select the header of your website which is the correct place for the code to be added into.
Once you are done with these settings use the “Update Google Analytics” button in order for the changes to be saved and for your Google analytics service to be integrated with your website and in the next 24-48 hours Google Analytics will be active and some statistics will be generated for you to check.
Congratulations! You have successfully integrated Google Analytics with your website!
