MailChimp is an Email Service Provider (ESP), which helps marketers send bulk emails to clients, customers, and other interested parties. The application is based on the three main aspects of email marketing:
- managing subscriber lists
- building email campaigns
- reviewing campaign reports
MailChimp offers simple tools that make it easy to create professional looking email campaigns. In this tutorial, we will take you through the three basic steps of MailChimp - how to register and setup it with you WordPress website, create a subscriber list and design a campaign.
STEP 1Registration for MailChimp
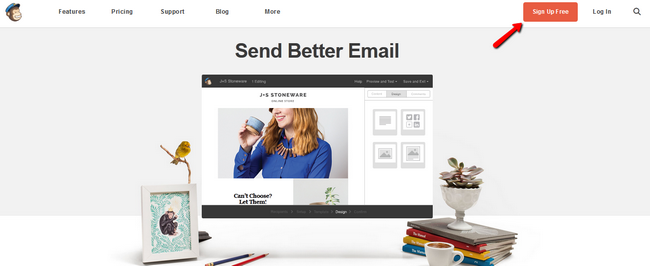
To connect the MailChimp services to your WordPress website, you will need to register a MailChimp account. If you do not have an account already, simply visit the MailChimp Official website and click on the Signup Free button.
Afterwards, type the email on which you will receive a confirmation for this registration, your preferred Username and a password covering all of the requirements for your new account with MailChimp.
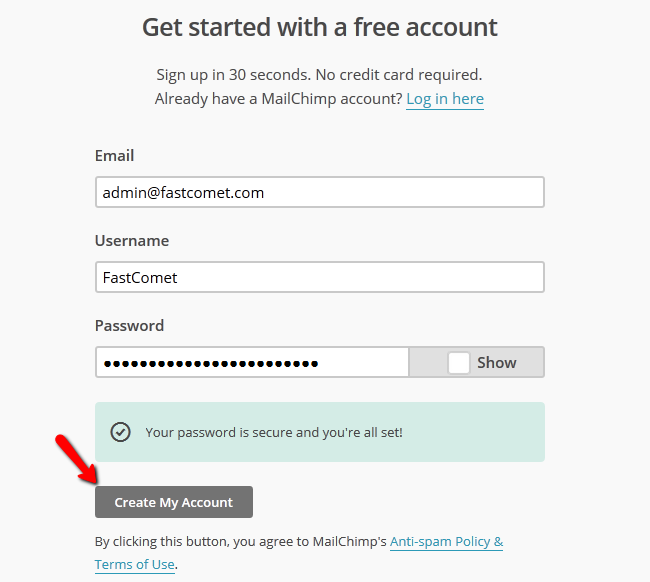
When you click the Create My Account button you will receive a confirmation email on the email address you specified. You must verify the registration and you will be directed to a new page where you can fill in your personal and company information.
Once you are signed in, you will be redirected to your MailChimp dashboard.
STEP 2Install and Activate the MailChimp widget
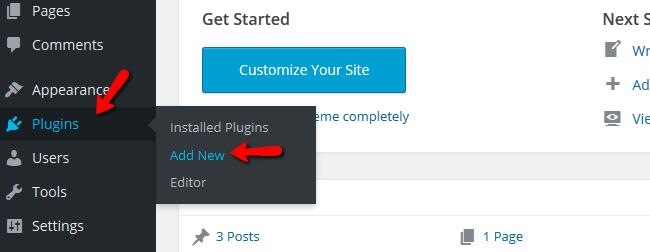
To install the MailChimp Widget plugin, navigate to the Plugins>Add New section of your WordPress Admin dashboard.
Type in mailchimp widget in the search box, and submit the search. Click the Install Now button to start the installation process.
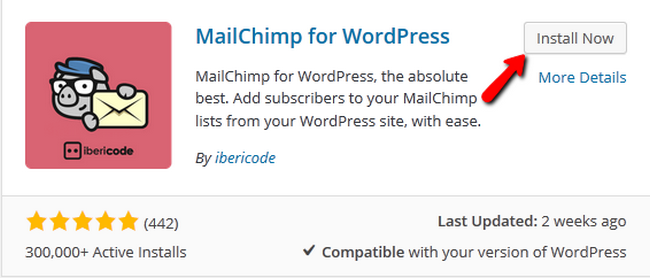
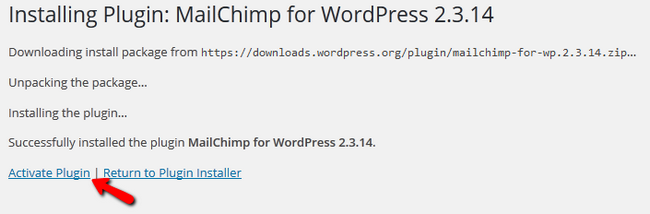
Once the installation has been completed you will have to click the Activate Plugin link.
STEP 3Generate API Key
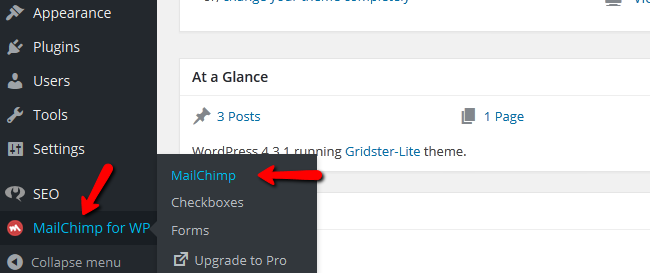
Once the plugin is installed and activated you will notice the additional menu in your WordPress Dashboard called MailChimp for WP. When you click on it you will have to connect the MailChimp plugin with the service itself.
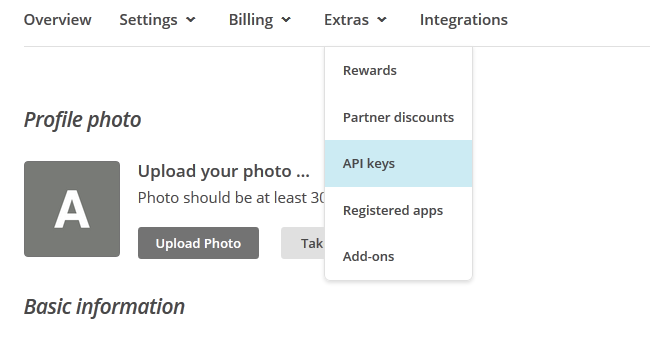
A valid MailChimp API Key will be needed to connect the widget to your MailChimp account. You can find the API Key generator by login to your MailChimp account and navigating to your Profile>Extras.
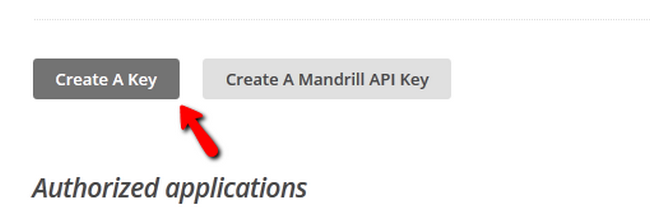
Now click on the Create API Key button to generate your API Key.
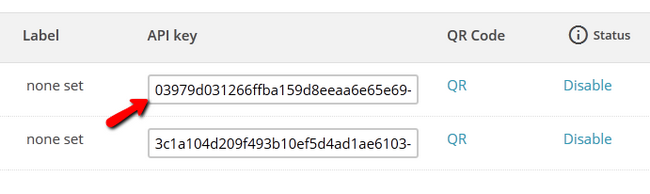
The Key itself is a randomly generated string of letters and numbers and looks like this.
Now get back to the WordPress dashboard and access MailChimp for WP>MailChimp.
Paste the API Key in the empty field and select Save Changes.

The gray Not Connected sign will switch to a green Connected one indicated that you have successfully connected the service with the widget.
Now select the Checkboxes section of the widget. This is the configuration page on which you will need to setup the MailChimp lists you wish to use and other options related to the checkbox that will show on your website’s front end. If you haven’t created a mailing list yet, you will need to in order to activate the subscription feature. You can do that from your account by clicking on the Lists tab and then selecting the Create List option.

After you have created the mailing list, return to your WordPress and select it.
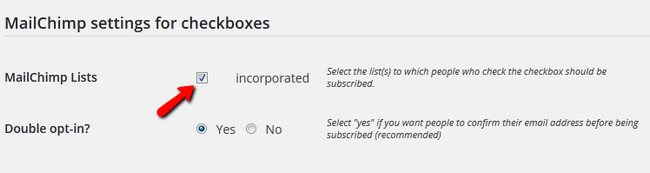
When you are done configuring make sure to hit the Save Changes button.
STEP 4Make the widget visible
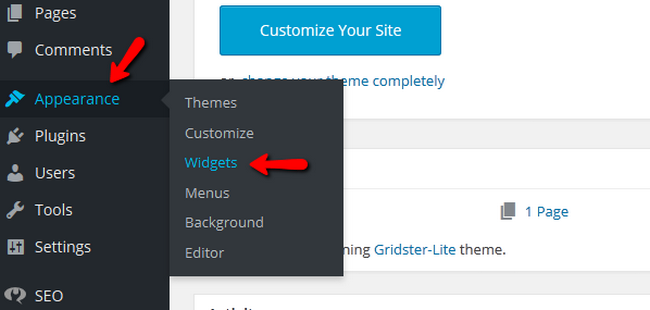
To make the widget visible for your users you will need to add it to the layout of your website. You can do that by navigating to Appearance>Widget.
Now drag and drop the MailChimp Sign-Up Form from the left section to the right Sidebar menu. You can also click on the widget and then select the Add Widget option.
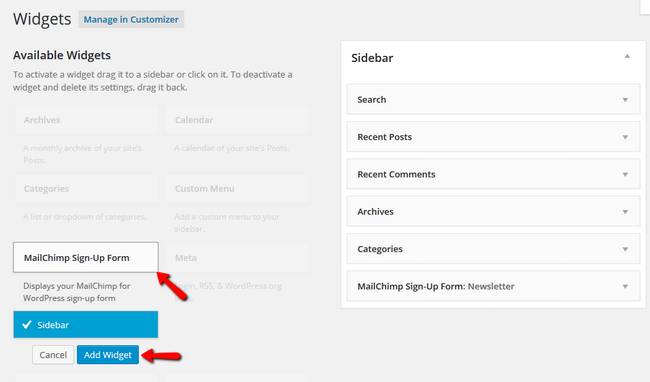
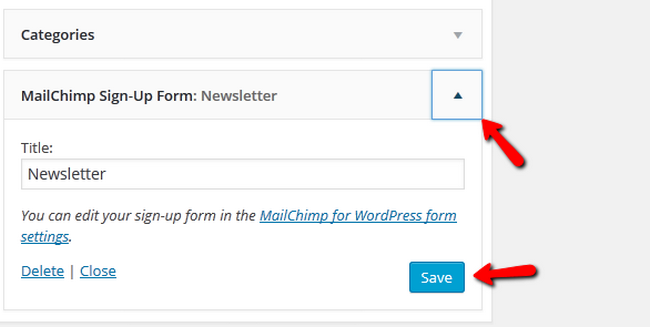
When the widget has been successfully moved, you will be able to open it from the drop-down arrow and rename the title. Click Save to apply and save the change.
Now on your store’s front-end, users will be able to type their email address and sign up for your newsletters.
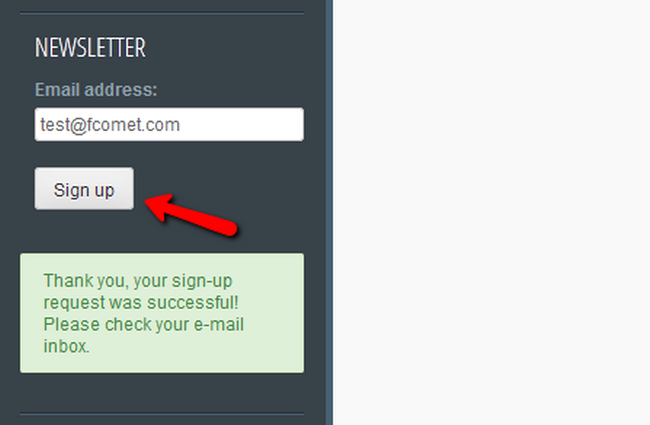
After that they will only need to verify the subscription and will be able to receive newsletters from your website.
