Stripe is a suite of APIs that powers commerce for businesses of all sizes. Stripe Checkout offers a nice, customizable payment process that works great across desktop and mobile platforms. In this tutorial we will show you how to install and configure the WP Simple Pay for Stripe plugin for WordPress and start using the Stripe Checkout within a few minutes.
STEP 1Installation and Activation
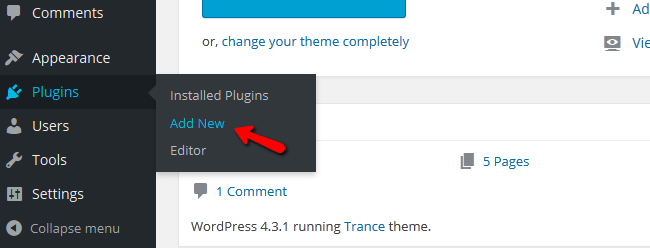
The first thing you will have to do is to login to your Wordpress Admin Dashboard. From there you will need to navigate to the Plugins>Add New section.
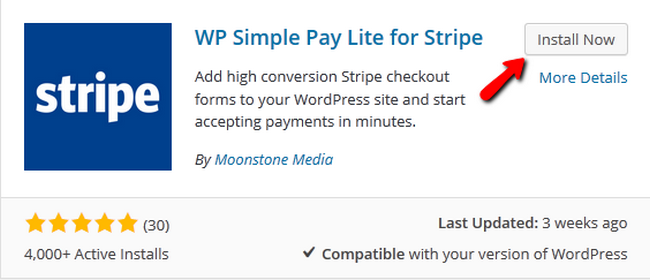
Now you will need to type in the address bar “WP Simple Pay for Stripe”, look for the plugin by Moonstone Media and click the Install Now button.
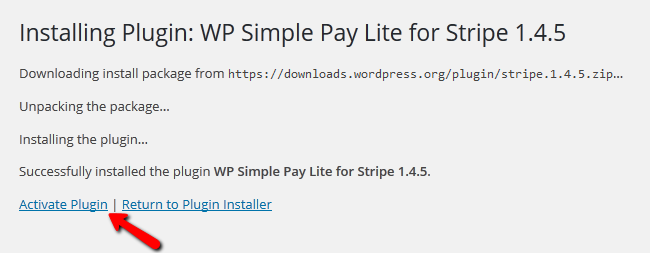
Once the Installation process has been completed you will need to click on the Activate Plugin link located at the bottom of the installation log.
STEP 2Configuration
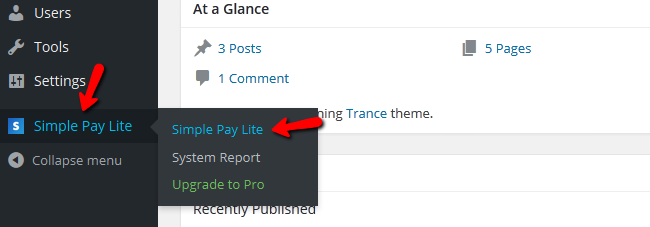
In order to get into the settings menu of the plugin, you will need to find it on your main admin dashboard and click it.
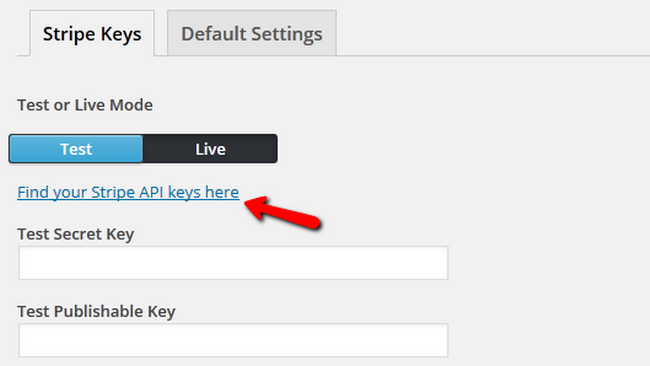
In the Stripe Keys tab, you will see that you need four API keys in order to fully use the plugin. Hit the Find your Stripe API keys here and you will be directed to the official Stripe website.
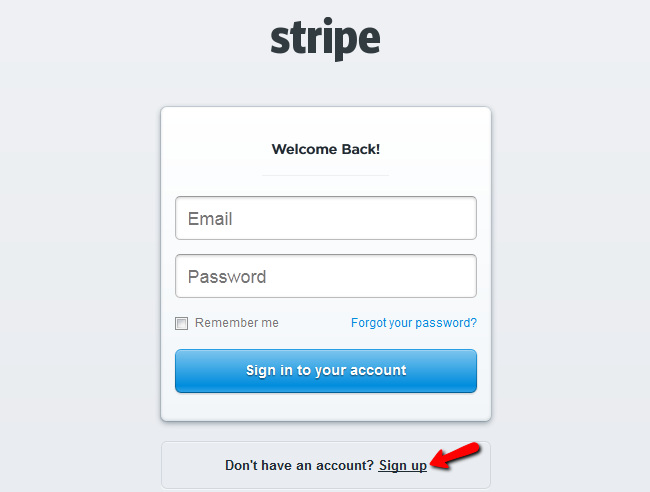
Here you will need to click Sign Up if you don’t have an account.
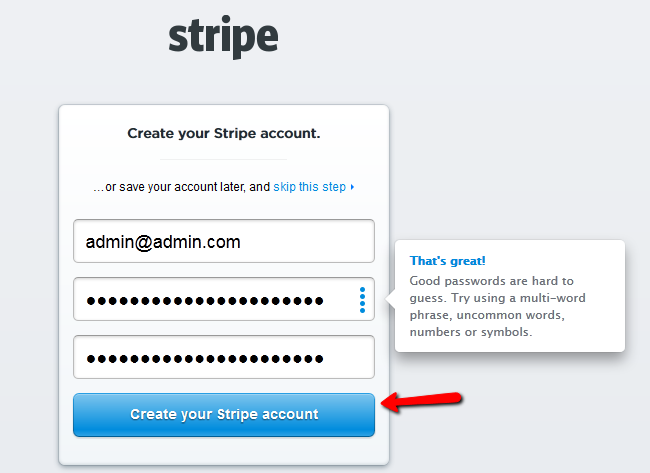
Now create a Stripe account and make sure that you have a strong password when doing so.
You will be logged in your admin dashboard’s API Keys section where you will find the four keys you need.
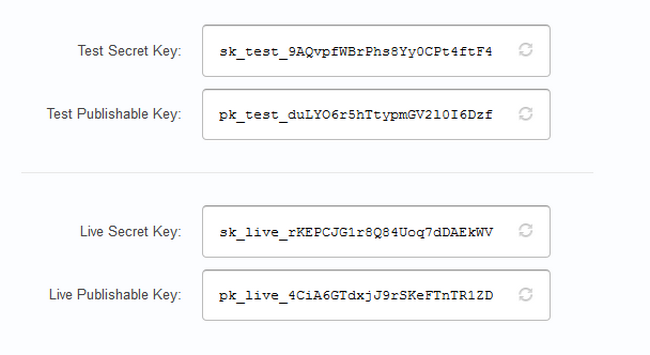
Copy the API Keys to their corresponding fields in the plugin and hit the Save Changes button.
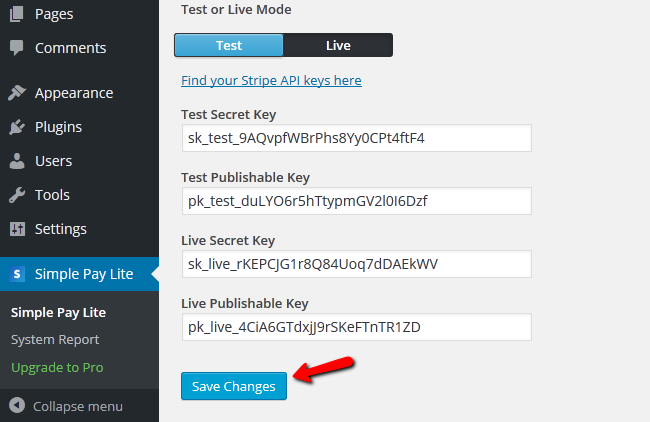
You have successfully connected the plugin to the Stripe service. Now you will need to access the Default Settings tab and fill the information fields provided by the plugin:
- Site Name – The name of your WordPress website
- Currency – The currency for the checkout. Use the 3-letter ISO Code
- Image URL – A URL that leads to a square image of your brand/product
- Checkout Button Label – The label of the payment button in the checkout form
- Payment Button Label – The text on the default blue button for the checkout
- Success Redirect URL – The URL that the user will be redirected to after a successful payment.
- Disable Success Message – If you want to redirect to a custom page made by you, check this box
- Failure Redirect URL – The URL that the user will be redirected to after a failed payment.
- Enable Billing Address – Check marking this will make the user to provide his billing address
- Verify Zip – Check marking this will verify the zip code of the card
- Enable Remember – This will add a "Remember Me" option to the checkout form to allow the user to store their credit card for future use
- Enable Bitcoin – Enables Bitcoin as a payment option.
- Enable Alipay – Enables Alipay as a payment option.
- Enable Alipay Reusable – This enables reusable access to the customer's account when using Alipay.
- Set Locale – To select a particular language, pass the two letter ISO 639-1 code such as "en" for English. See languages supported by Stripe Checkout
- Disable Plugin CSS – Check marking this will disable the CSS of the plugin
- Always Enqueue – Enqueues the plugin's scripts and styles on every post and page. Usefull when using shortcodes in non-standard locations like widgets
- Save Settings – Saves the settings when uninstalling the plugin. Useful during upgrading or re-installing.
When you have configured the settings, click the Save Changes button.
STEP 3Implementing the Checkout
Now let us use the checkout in an actual post. Create a new post in WordPress and switch to Text mode. Now we will use the shortcodes to create a checkout button for a product. You can also use the WP Simple Pay Companion to help you in this process.
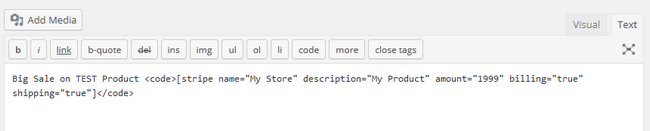
We have added the amount of 1999 which is 19.99 and also enabled billing address and shipping.
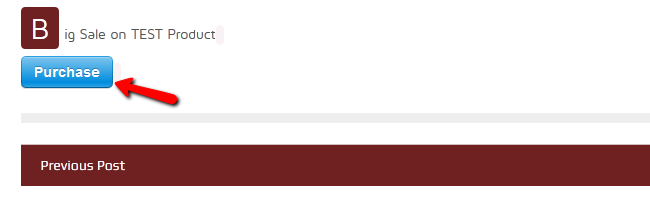
When the user fills out the required information he will be able to click the Payment Info button and continue.
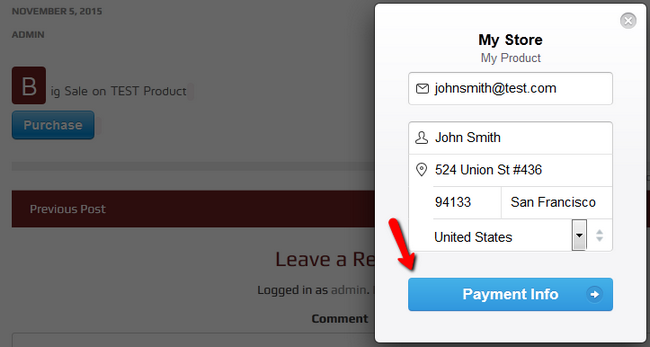
Here, the user will have to type his payment credentials. If you have enabled Alipay of Bitcoin in the settings users will be able to use those as well.
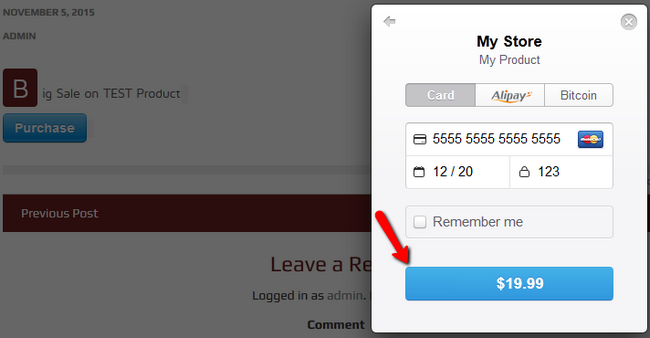
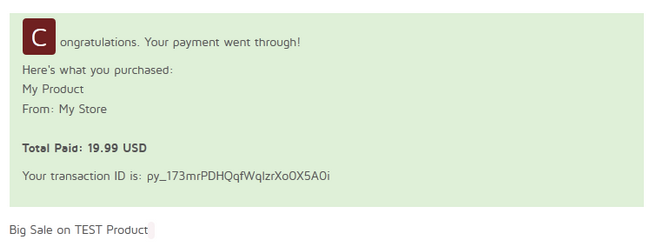
The user will see here the value you have setup for Checkout Button Label in front of the custom amount of 19.99, so it is advisable to remove the Label when using custom amounts. The user will see the following default message if the payment was successful and you haven’t disabled the success message from the settings.
Congratulations. You now know how to setup a checkout form in WordPress using the WP Simple Pay for Stripe plugin.
