A favicon is a tiny image you usually see next to the tittle of your or other websites you are browsing. To be precise, it is an icon usually displayed in the beginning of every tab of your browser.
This icon improves the user experience of your website and also eases the access of the users when they are switching tabs in their browser. For example if the tittle of your website is too long to be displayed in the tab, users are usually finding the tab they have opened your website into by the favicon.
STEP 1Generating and uploading the Favicon
Now that we know what a favicon is and how important is for your website to have such we will proceed with how you can actually generate that icon. No matter the image editing software you are using for the creation of that icon you should not that the end image should be with resolution 32x32 pixels or 16x16pixels. Another important thing to note here is that the image extension should be either .png or .ico in order for the image to be displayed in all of the most used browsers these days.
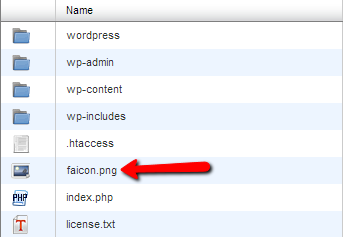
Once you are done generating the image you will need to upload it of course either using the FTP service or using your cPanel > File Manager > Upload feature. The location you should upload the favicon file is your public_html folder or the folder associated with the domain name you are accessing your website.
Once you are done uploading your favicon it is time to activate it for your website. We can assure you that this is quite an easy task to handle, however it will require for you to edit the code for theheader.php file for the template you are using.
STEP 2Editing the header.php file
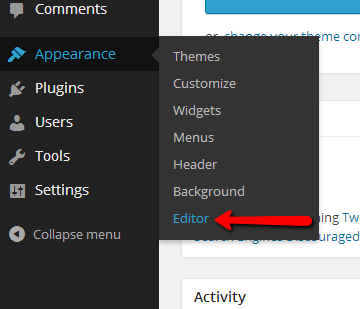
How can you edit this file? Well, there are few ways to perform the edit, however we will use the most user friendly way. Therefore you will need to login into your WordPress admin area and navigate toAppearance > Editor.
The next page will display the code for the template you are currently using and there is no need to be scared of it. Simply make sure that the template you are using is properly selected from the “Select theme to edit” drop-down menu.

Next you will need to select the header.php for editing and in order to do so please find the “Header” link in the right vertical menu labeled “Templates”: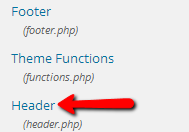
Once you open that file and you are able to see the code in the text box at the center of the page you will need to locate the “</head>” string in the code and to insert right before that string the following code:
<link rel="icon" href="http://www.example.com/favicon.png" type="image/x-icon" />
<link rel="shortcut icon" href="http://www.example.com/favicon.png" type="image/x-icon" />
Replacing “example.com” with your actual domain name and of course the name of the favicon “faicon.png” in our case with the actual name of your favicon (usually faicon.ico).
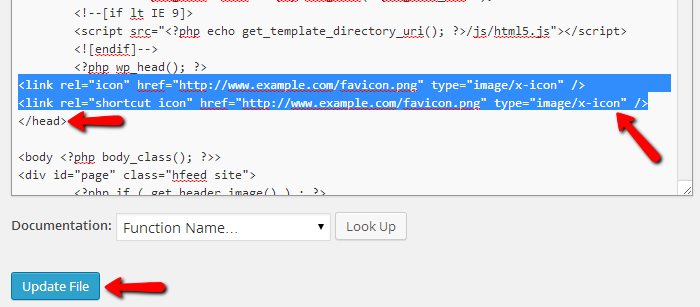
Once you are done please use the “Update File” button so the edit can be saved. Additionally you will need to clear your browser’s cache and cookies in order for the changes to take effect.
Congratulations! You have successfully added a Favicon to your WordPress website!
