Backing up the content of your website will ensure that in case of emergency you will have a local copy of your website which you can use for restoring the website to a previous working state.
The process of generating the backup is quite straight forward and we will explain it in details in this tutorial. Since WordPress is a php/MySQL driven platform you will respectively need to perform the backup on two stages.
STEP 1Backing up the files
First you will need to backup the files for your website. This can be easily done via the FTP service for your account. If you are not quite sure how to use this service or if you are not entirely familiar with it please check our FTP tutorial series.
Once you connect to the FTP service for your website and access the root folder for your website (where the WordPress files are located) you will need to download them in a folder on your local computer.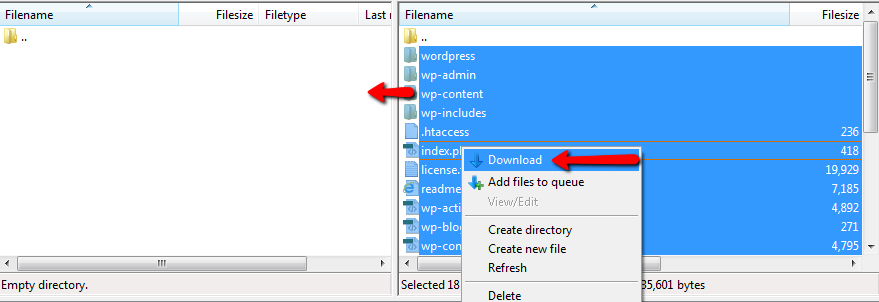
Once you are done downloading the files you will need to backup the database your website is using.
STEP 2Backing up database
This is also quite an easy task and in order to achieve it you will first need to know the name of the database used by the website. If you are not quite sure about the database name you can easily check it by opening the wp-config.php file and searching for the following line in it:
define('DB_NAME', 'example_database');
Once you find the database name you will need to export it. The export process is also an easy one to handle, it will require however for you to access the phpMyAdmin application located in your cPanelservice.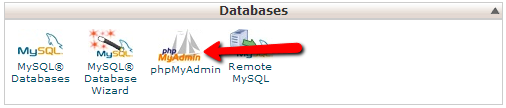
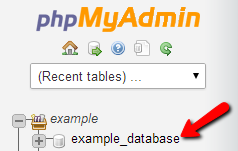
There from the left vertical tree view you will need to locate the database name and to click on it.
Then you will be presented with the table view for your database. Here you will need to use the “Export” tool in order for your database to be properly exported. This tool is located in the top horizontal menu at the table view page.
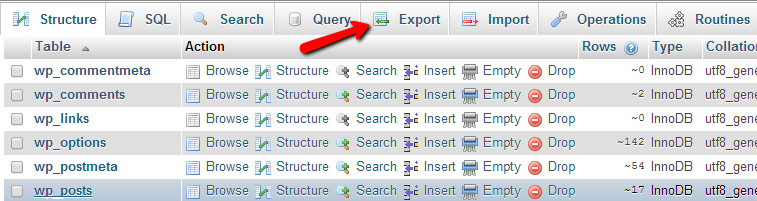
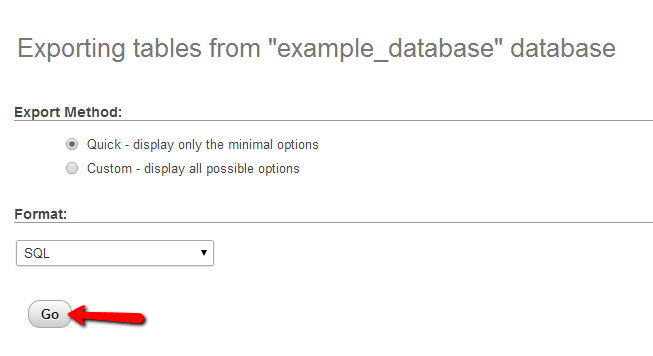
Once you press that button you will be redirected to the final exporting interface where you will need to simply click the “Go” button for the export process to begin.
Then a file will be prompted for download and once the download is finished you will have a backup of your database on your local computer. Considering the fact that you have already downloaded the files of your website via the FTP service and also the database you are done with the backup of your website.
Congratulations! You have successfully backed up your website!
