Usually you will need to restore a backup for your website if some issue has occurred with your website and it is resulting in your entire website being down.
Of course in order to restore a backup you will first need to have one created at some earlier point of time. If you are not quite sure how to generate a backup for your WordPress based website please check one of our other WordPress tutorials.
Assuming that you have the files and folders along with the database of your WordPress website you will need to begin with restoring the files.
STEP 1Restoring the files of your website
This can be done quite easily using the FTP service. If you are not quite familiar with the FTP service you can check our FTP tutorial series.
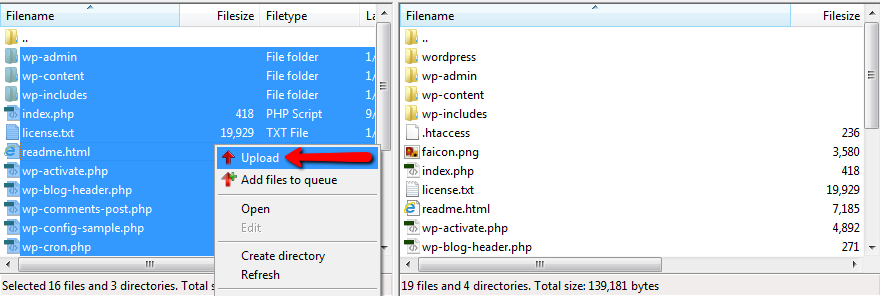
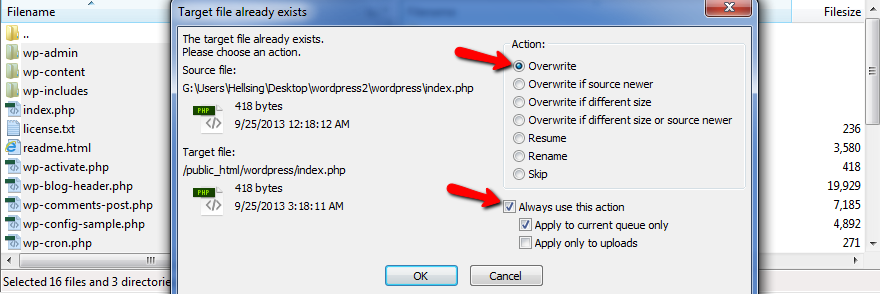
Assuming that you have successfully connected to the FTP service for your website you will need to navigate to the folder where the files for your WordPress website are stored into. Once you find them you will need to upload the files from your backup (stored on your local computer) over the files of your current website overwriting all of the existing files.
Once the upload is finished it is time for the database of your website to be restored.
STEP 2Restoring the database
This can be done quite easily if you create a new empty database and import the backup you have stored on your local computer. If you are not quite sure how to create a new empty database, create a new user for that database and grant the user privileges to operate with the newly created database you can check out tutorial for cPanel database management.
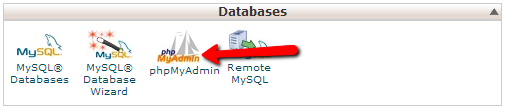
Next you will need to access the newly created database in the phpMyAdmin application available in your cPanel > phpMyAdmin.
Once you access the phpMyAdmin application you will need to find your newly created empty database in the vertical tree-view located at the left of the page. As soon as you find it click on it so you can browse the table view and then use the “Import” button located at the top vertical menu.
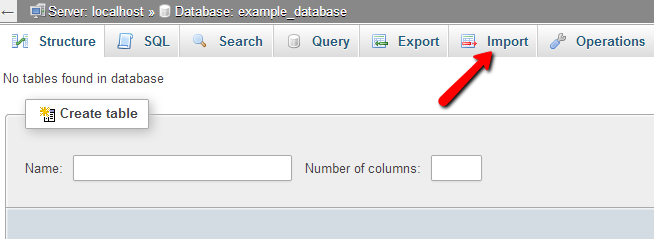
The “Import” button will redirect you to the importing interface where you will need to select the backup file store on your local computer. Usually that is a .sql file you have received after exporting your database earlier.
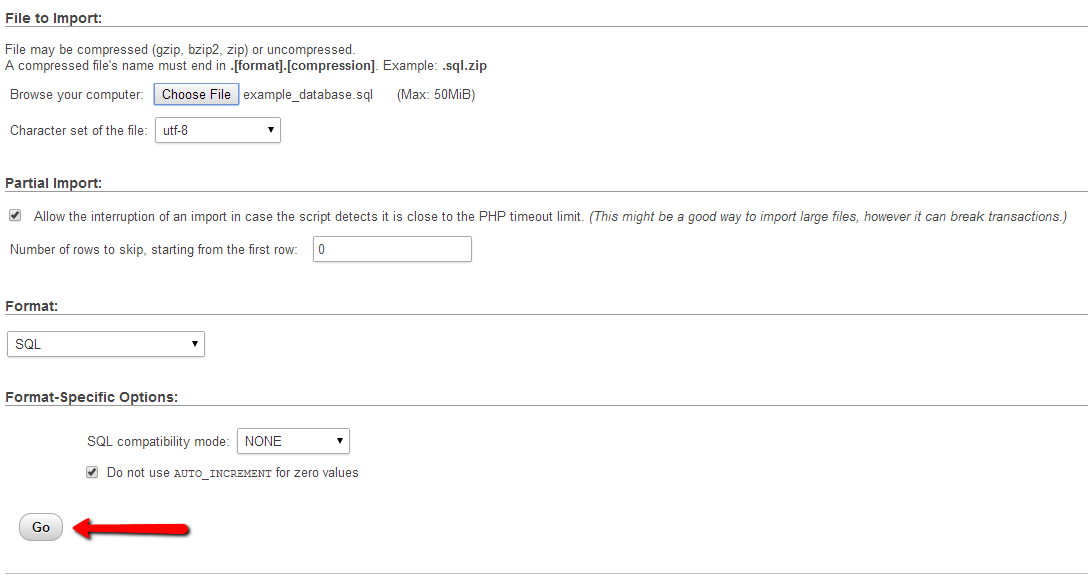
If you are done selecting the backup file you will need to press the “Go” button at the bottom of the page so the backup can be imported successfully.

Up to this point the restore is completed, however you will need to tell your website to use the newly created database which you have restored the backup into.
STEP 3Editing the configuration file
This is quite an easy task and in order to do it you will need to edit the code of the wp-config.php file. This file is located inside the files you have just restored and in order to edit it you can use the “Code Edit” option of the “File Manager” featured located in your cPanel.
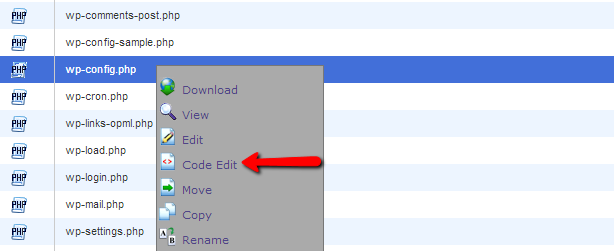
This feature will bring the code of the wp-config.php file for editing. Please change the following lines from that file:
/** The name of the database for WordPress */
define('DB_NAME', 'example_database');
/** MySQL database username */
define('DB_USER', 'example_user');
/** MySQL database password */
define('DB_PASSWORD', 'pass123');
by replacing “example_database” with your new database name, “example_user” with the actual user you have assigned to operate with the new database and last but not least the “pass123” with the actual password for the user you have created.
Once you are done with the edits please use the “Save Changes” button located at the top of the page in order for the changes to be saved.

Congratulations! Now your website is restored and you should be able to access it normally.
